A disbursement represents funds paid out by the firm. Disbursements may be issued to: Suppliers Employees (expense reimbursements) Other entities for goods or services Automatic Disbursement Generation When using the Pay function within Vouchers, LawAccounting automatically creates a disbursement to record the payment.
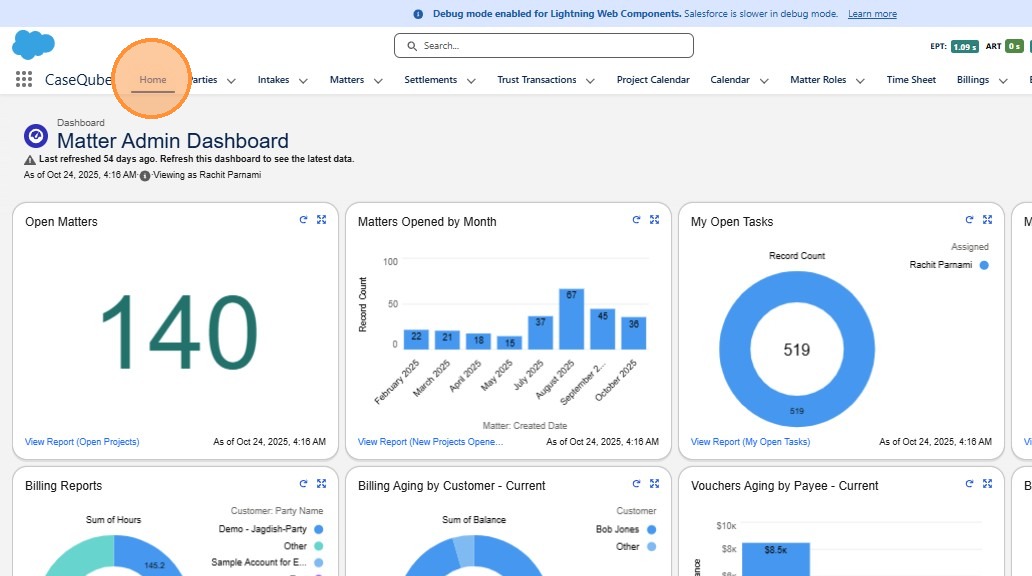
1. Step 1: Login to SalesForce
- Login to SalesForce Using Secure Credentials
 />
2. ### Step 2: Navigate to Disbursements
-
Using the App Launcher, Open LawAccounting App
-
From the LawAccounting homepage, click the Disbursements tab.
Click "Law Accounting"
Click "Disbursements"
Click this image.
 />
3. ### Step 3: Create a New Disbursement
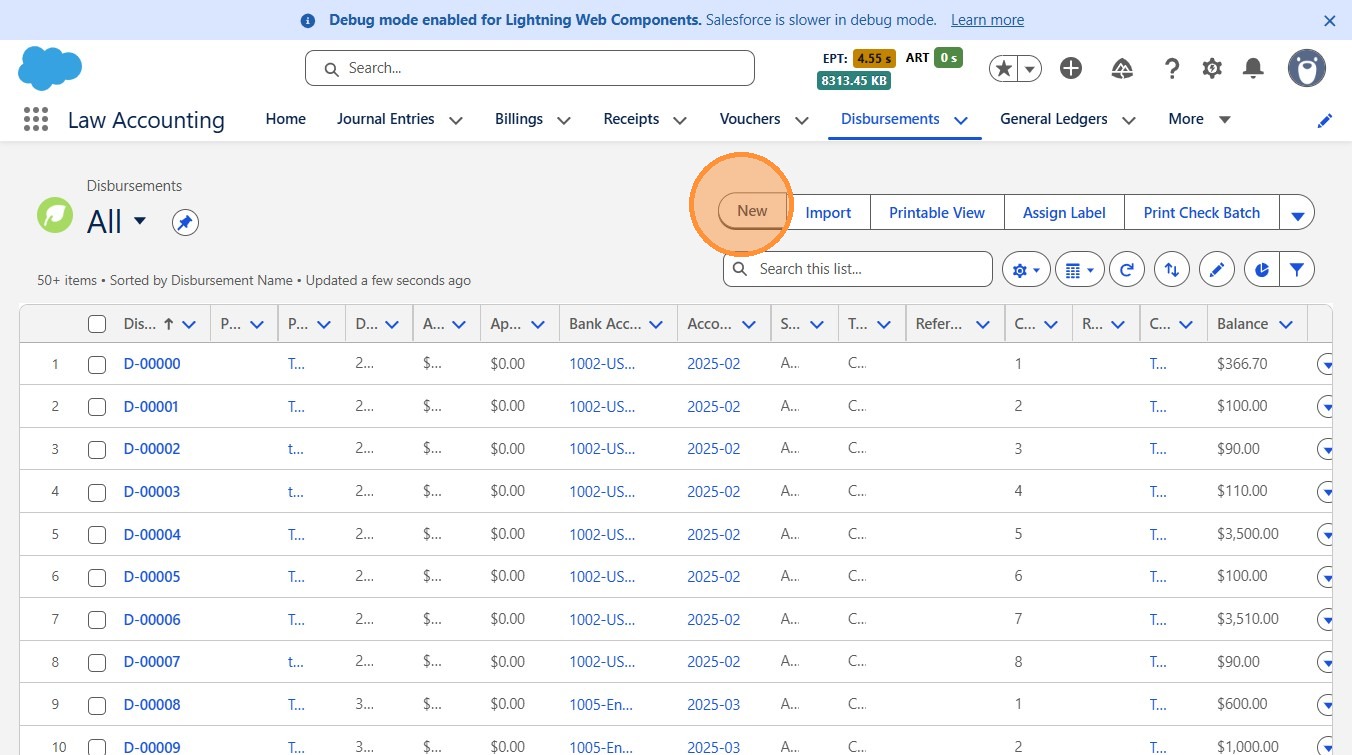
- Click the New button to initiate a manual disbursement.
 />
4. ### Step 4: Complete Disbursement Fields
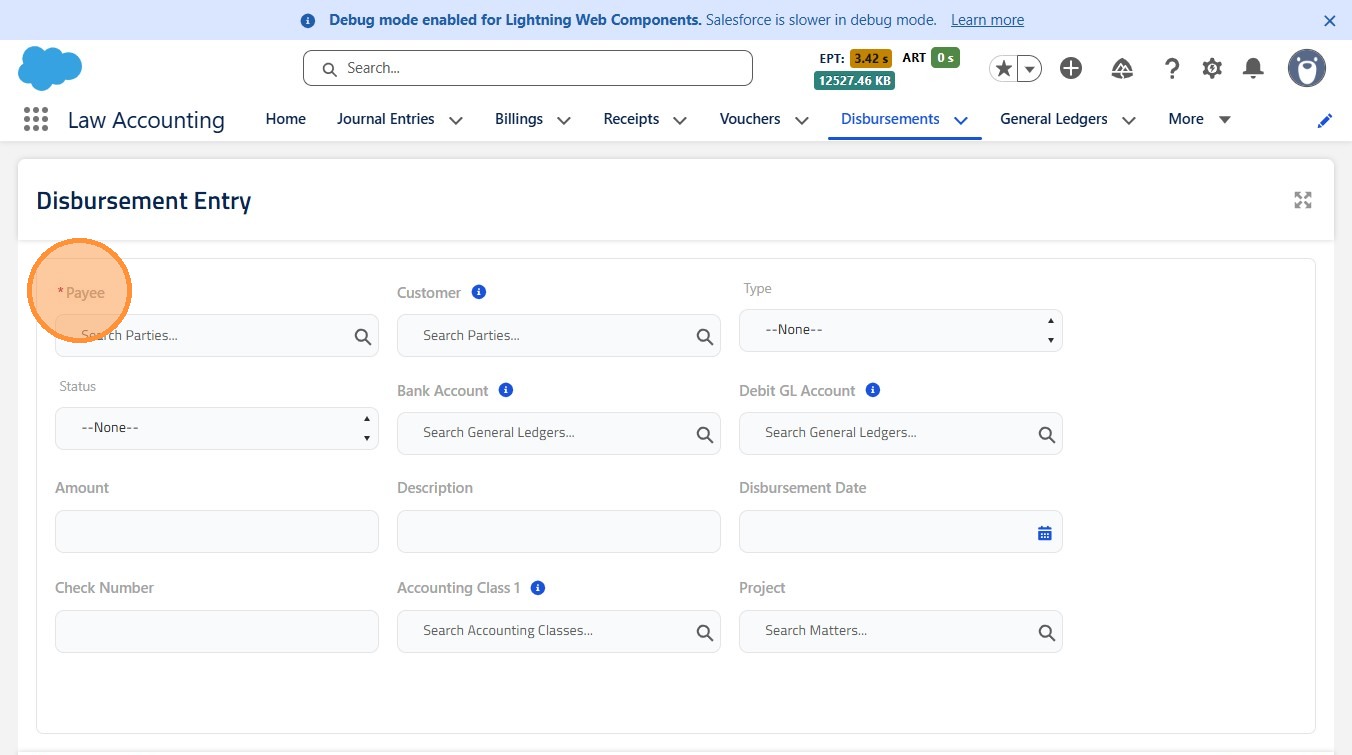
Enter the following information:
Payee:
Select the individual or organization receiving the payment.
 />
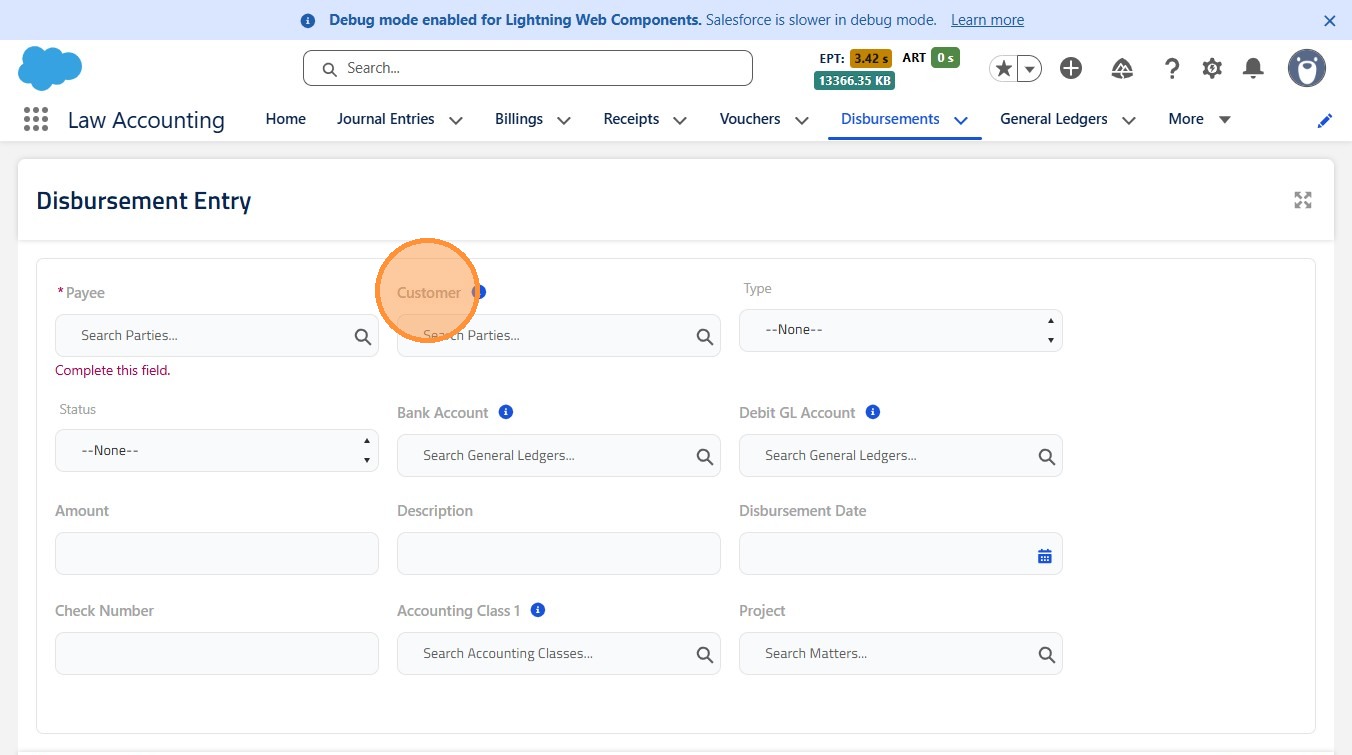
5. Customer:
Select the name of the customer
 />
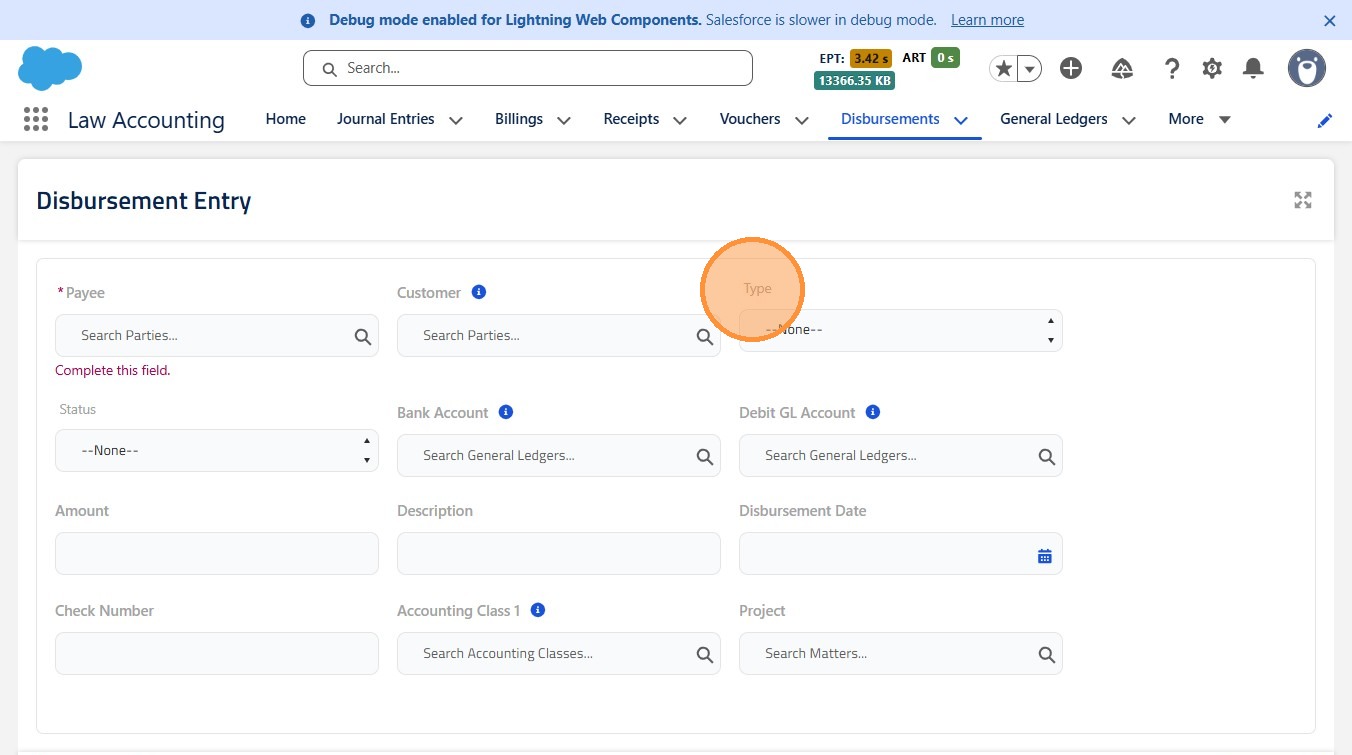
6. Type:
Choose Electronic or Check.
 />
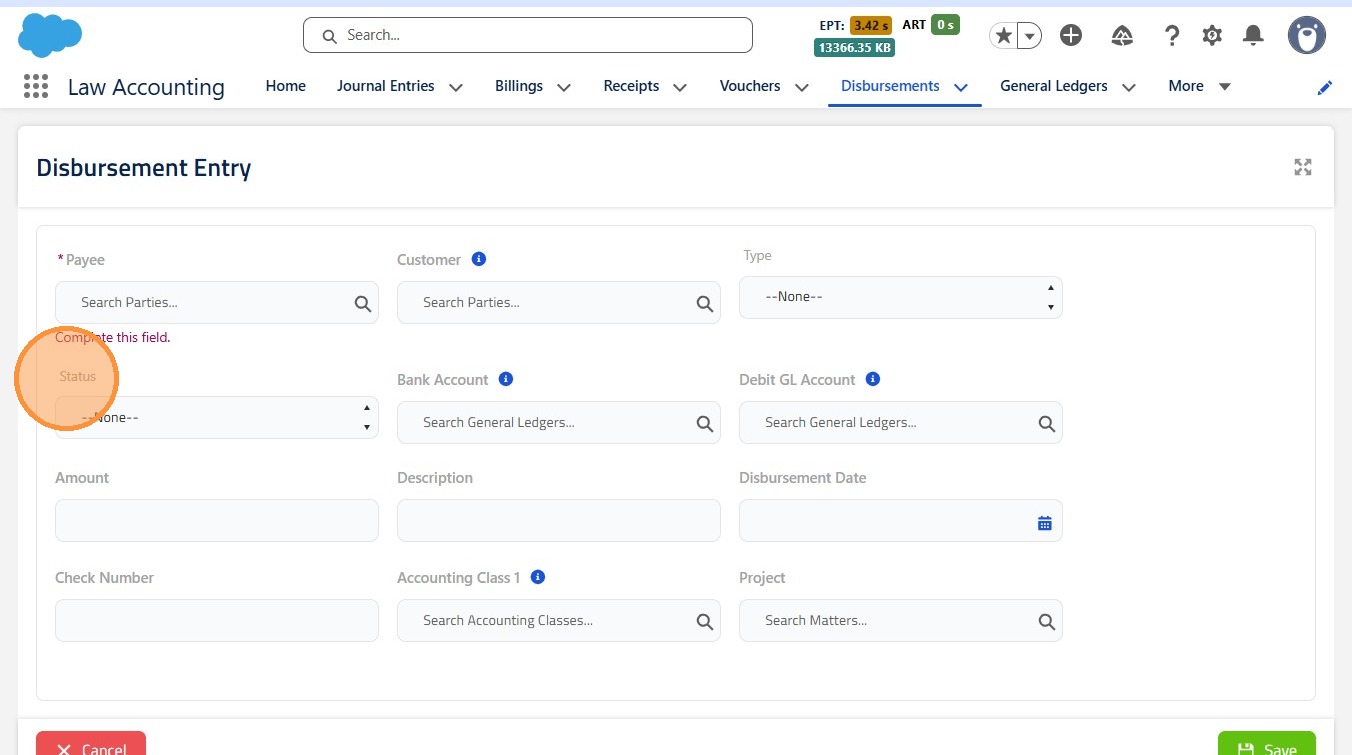
7. Status:
Defaults to Approved.
 />
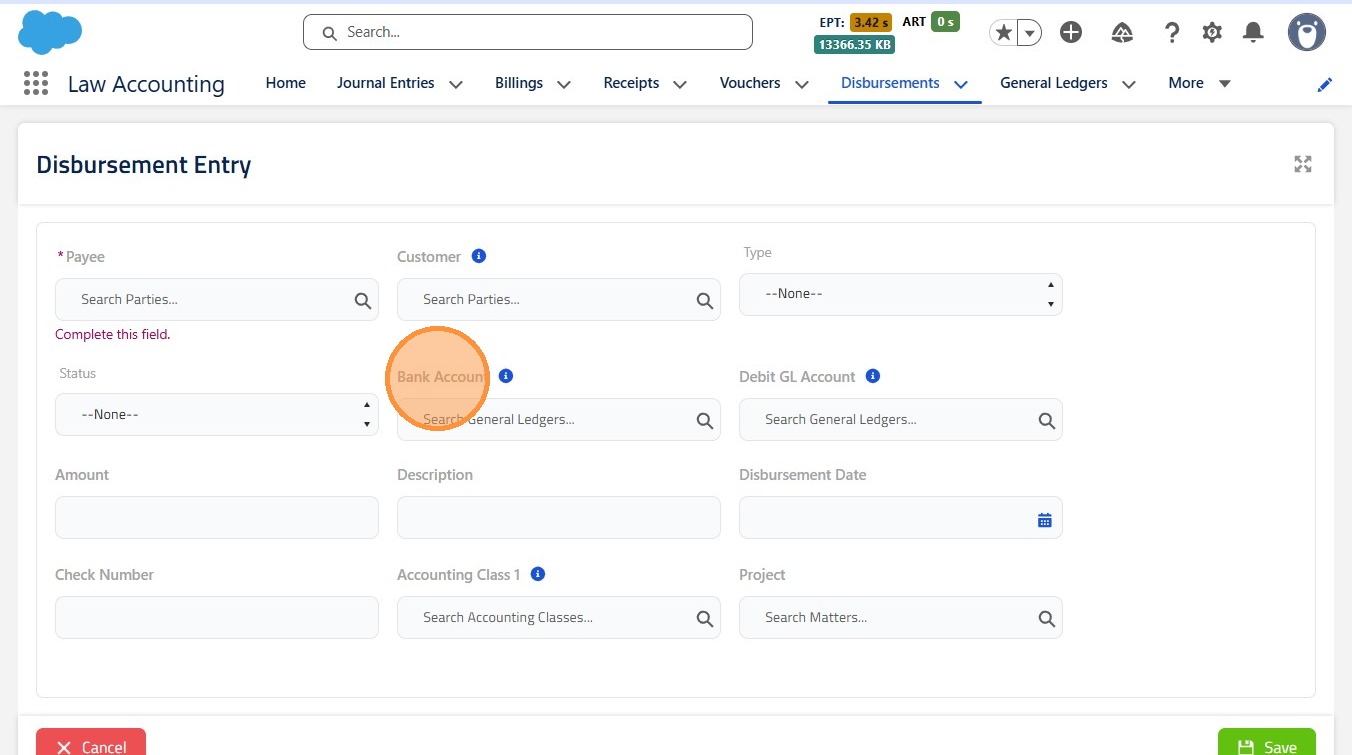
8. Bank Account:
Select the bank account from which funds will be paid.
 />
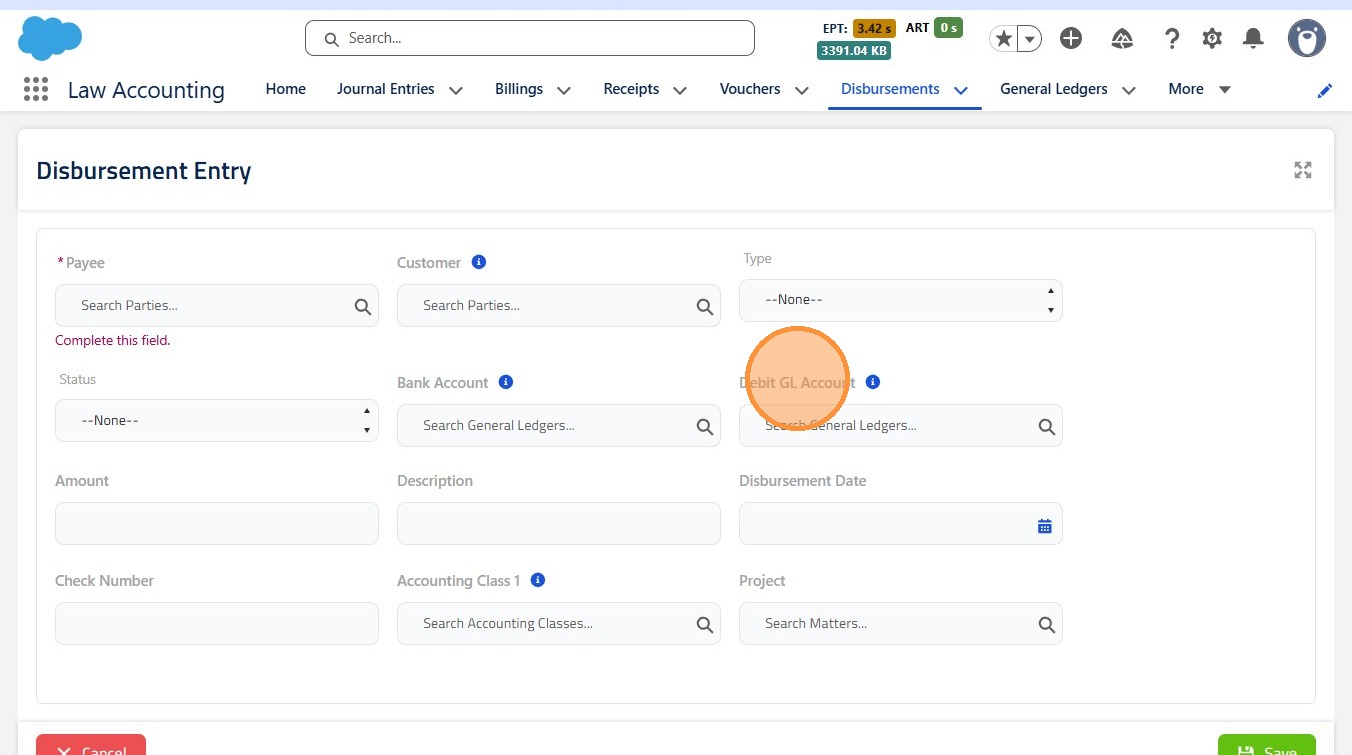
9. Debit GL Account:
Defaults to the Prepaid Expense GL Account configured in Default GL Accounts.
- Can be manually changed if needed.
 />
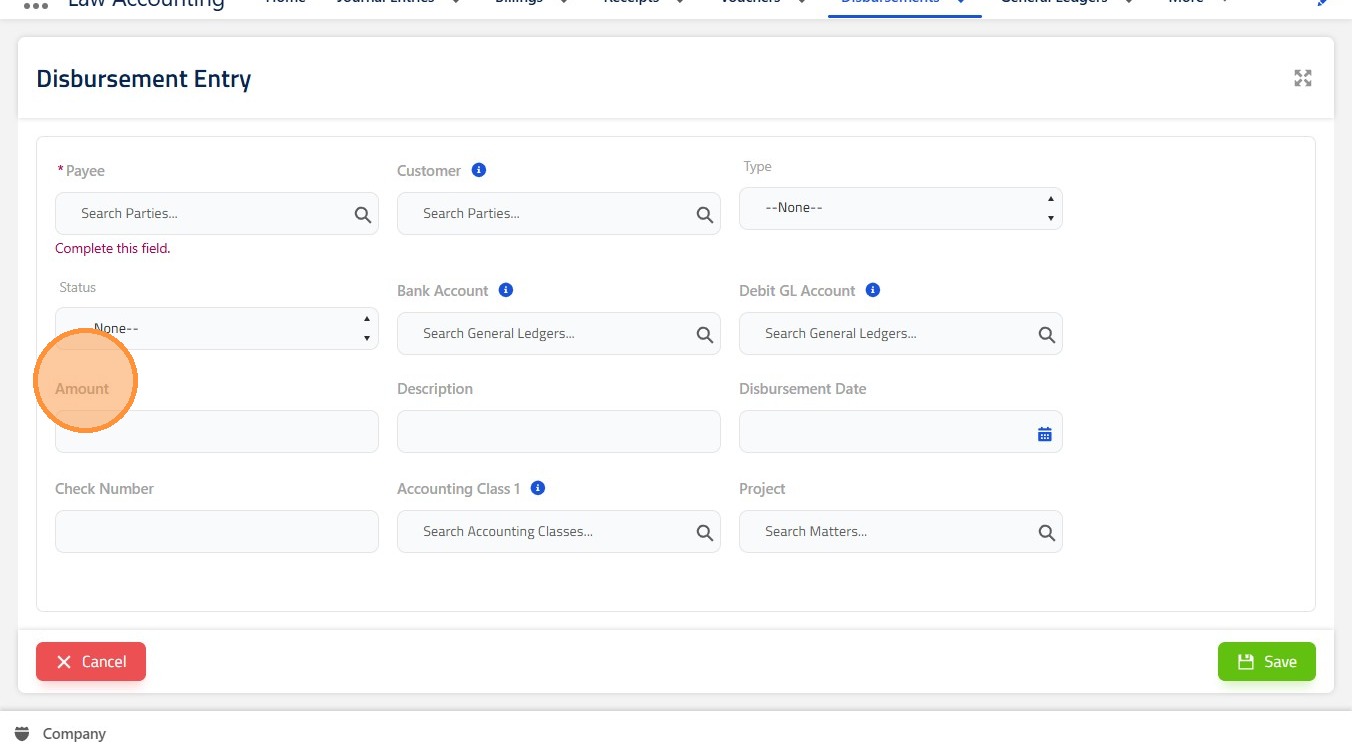
10. Amount:
Enter the total amount being disbursed.
 />
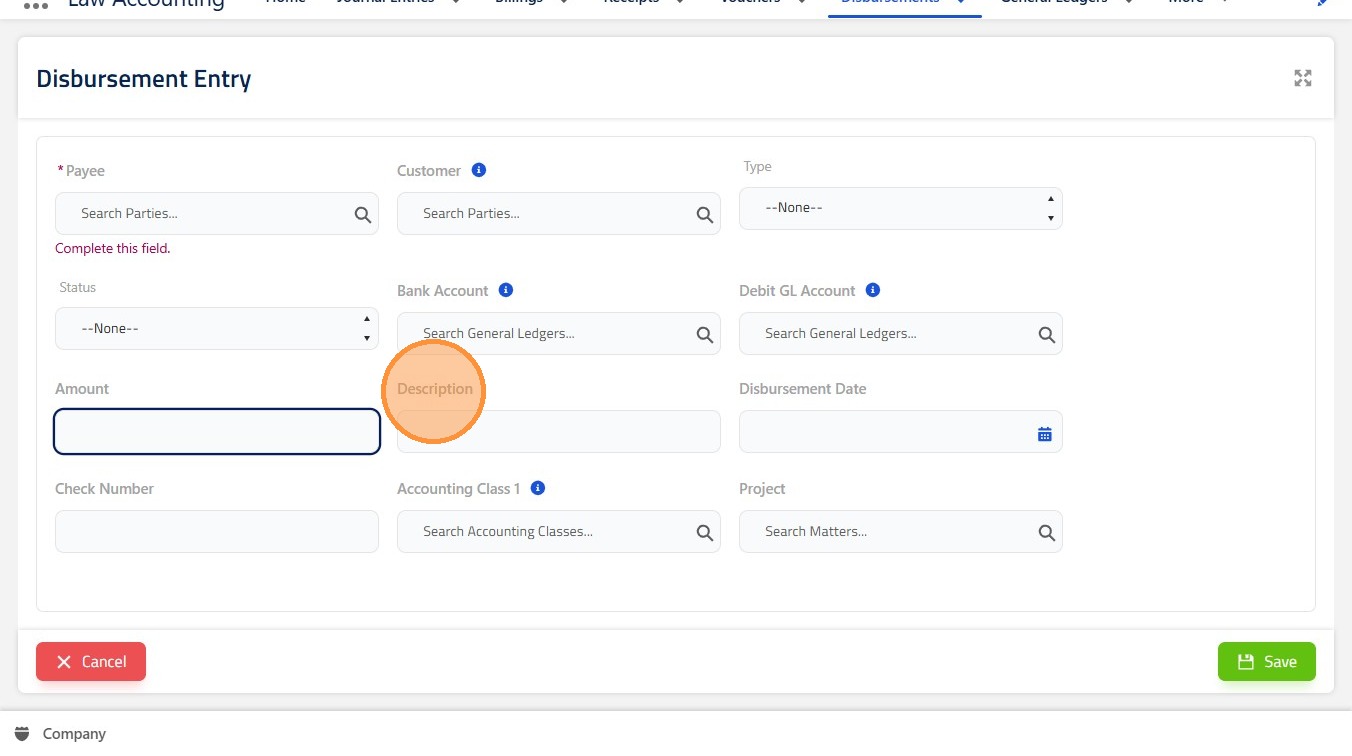
11. Description:
Add relevant details about the disbursement.
 />
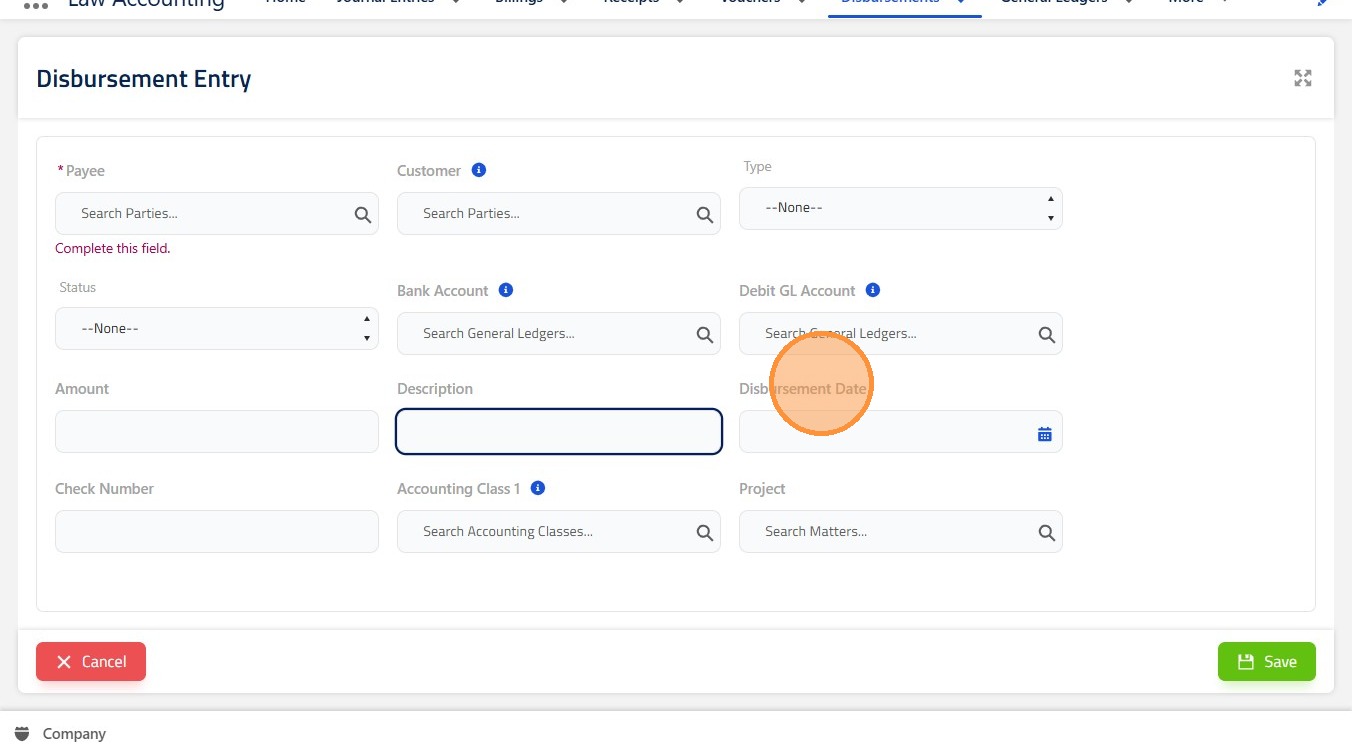
12. Disbursement Date:
Defaults to the current date but can be changed to reflect the actual payment date.
 />
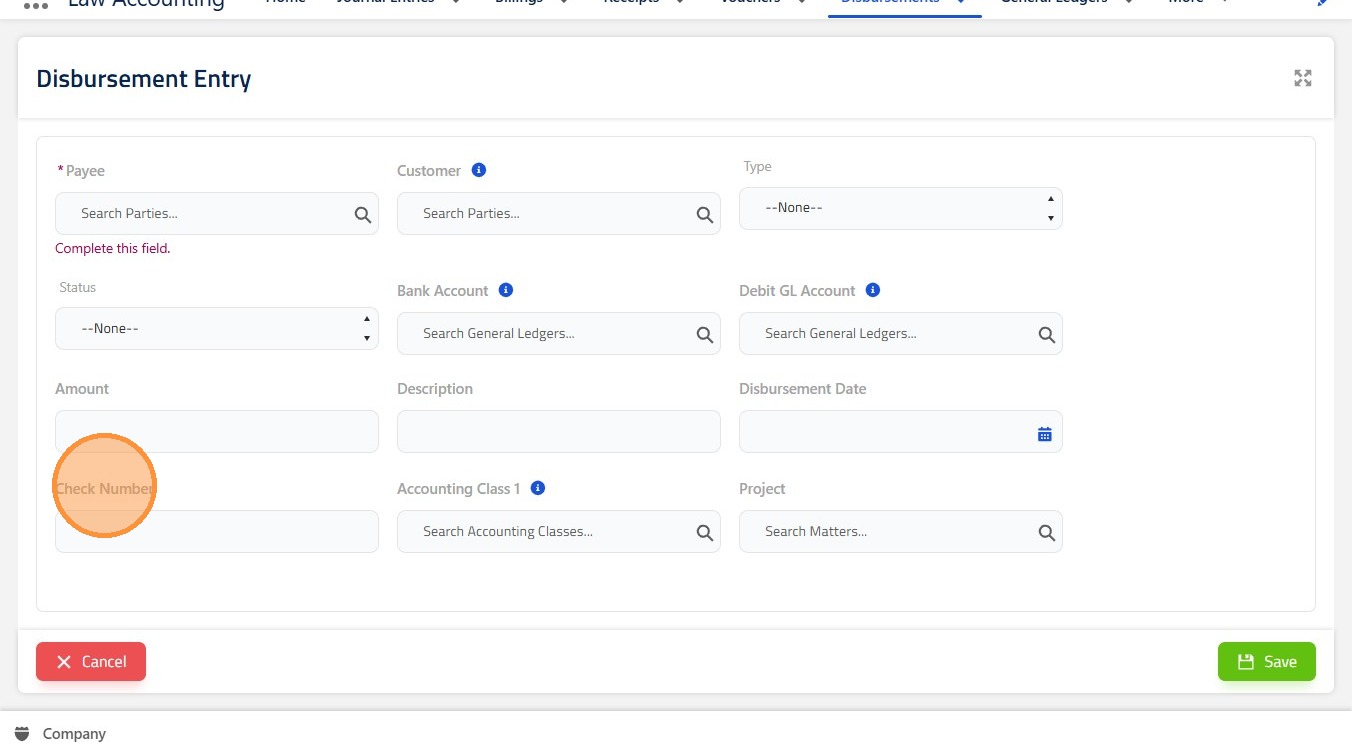
13. Check Number (Optional):
Enter the check number if the payment type is Check.
 />
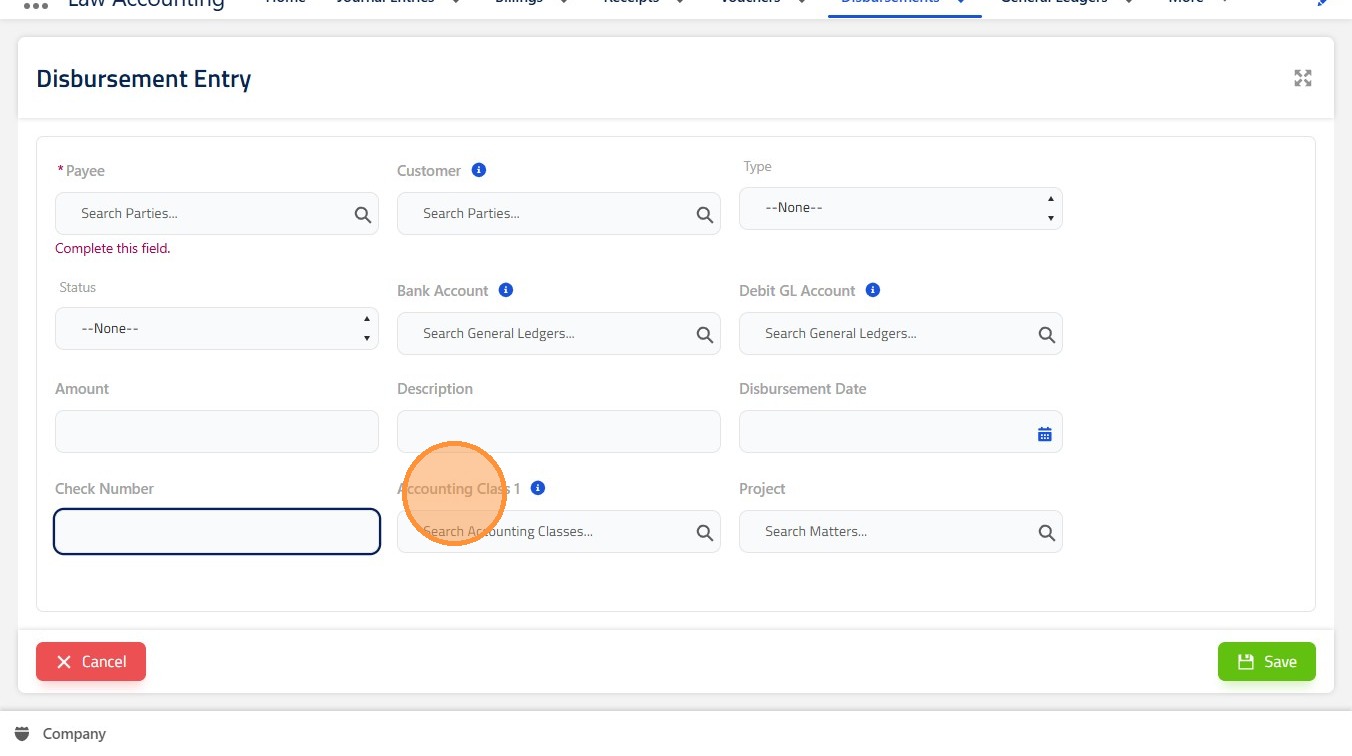
14. Accounting Class (Optional):
Assign up to four accounting classes (e.g., department, office, practice area) for reporting purposes.
 />
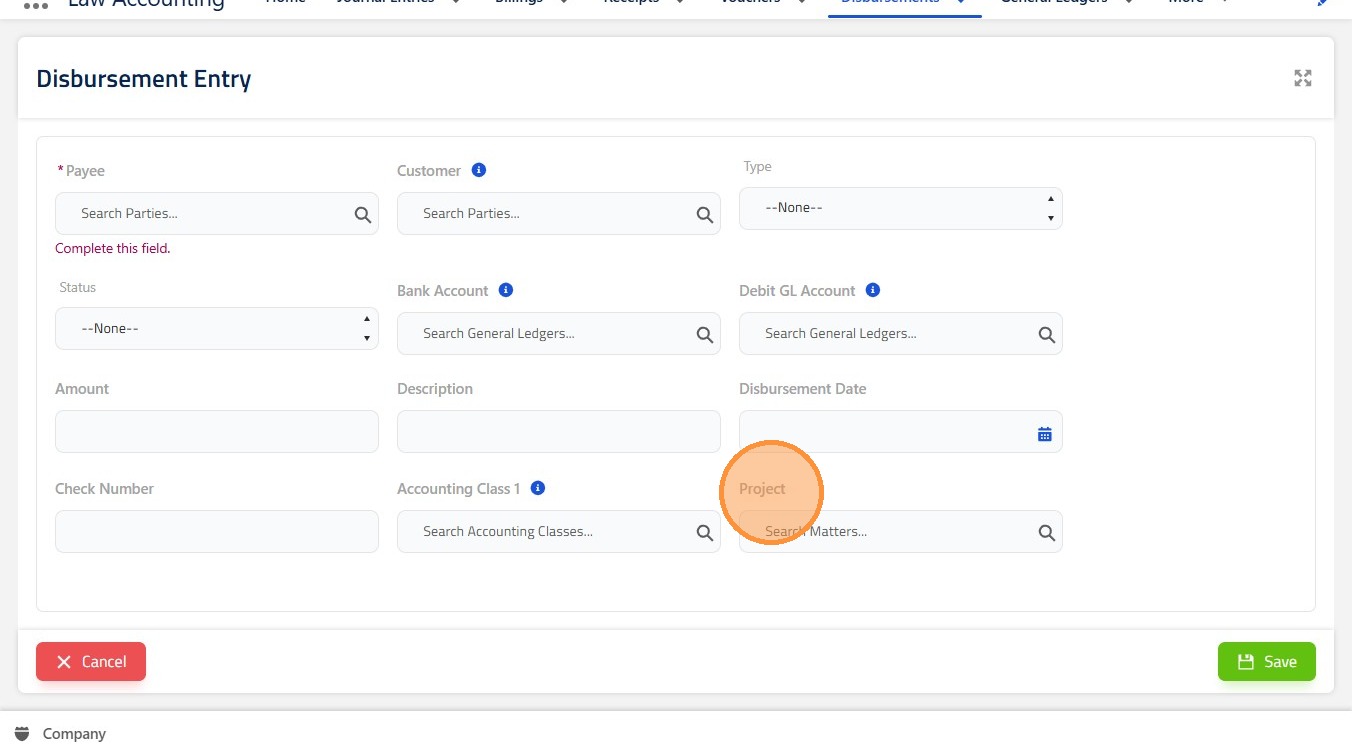
15. Project:
Link the disbursement to a specific legal matter, if applicable.
 />
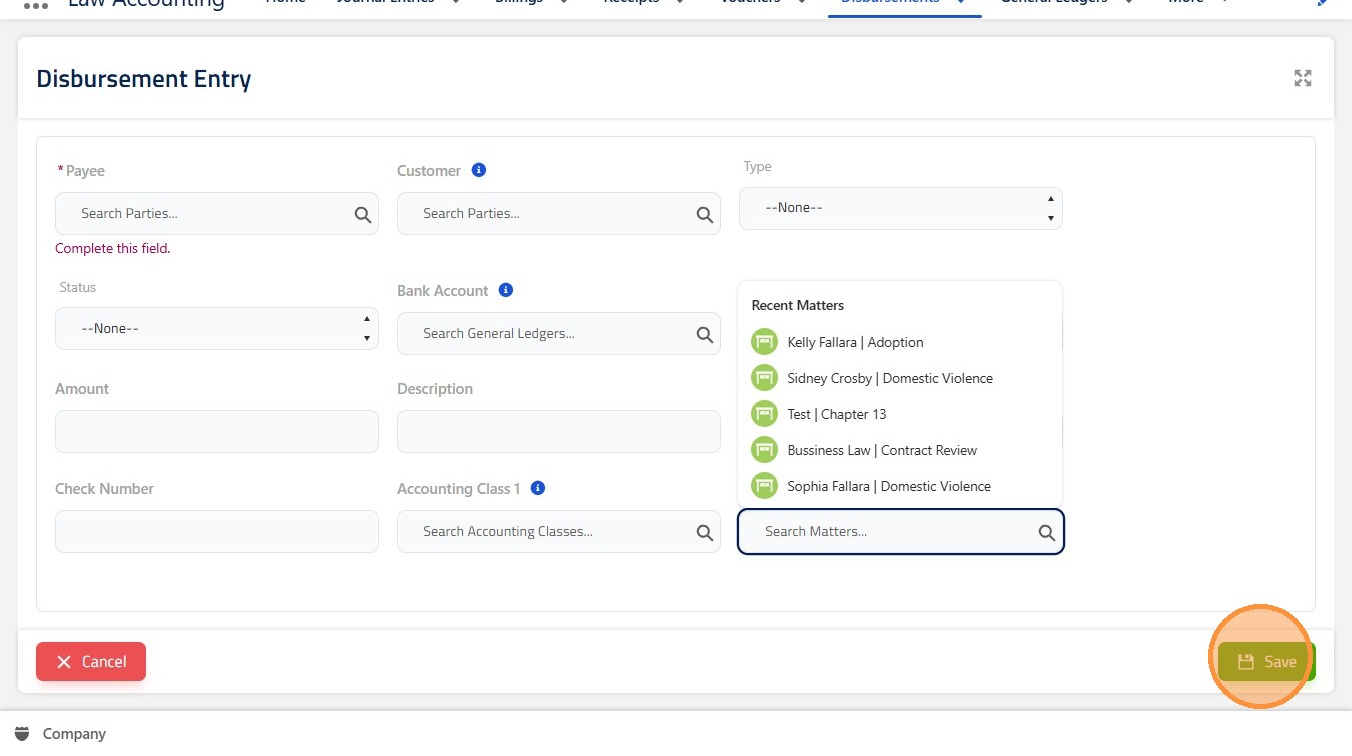
16. ### Step 5: Save the Disbursement
-
Review all information for accuracy.
-
Save the disbursement to record the transaction.
 />