A receipt represents a payment received by your firm and deposited into your bank account. Recording receipts ensures accurate revenue tracking and proper application of client payments. *Important Note A single receipt can be applied to multiple invoices, allowing flexible allocation of client payments.
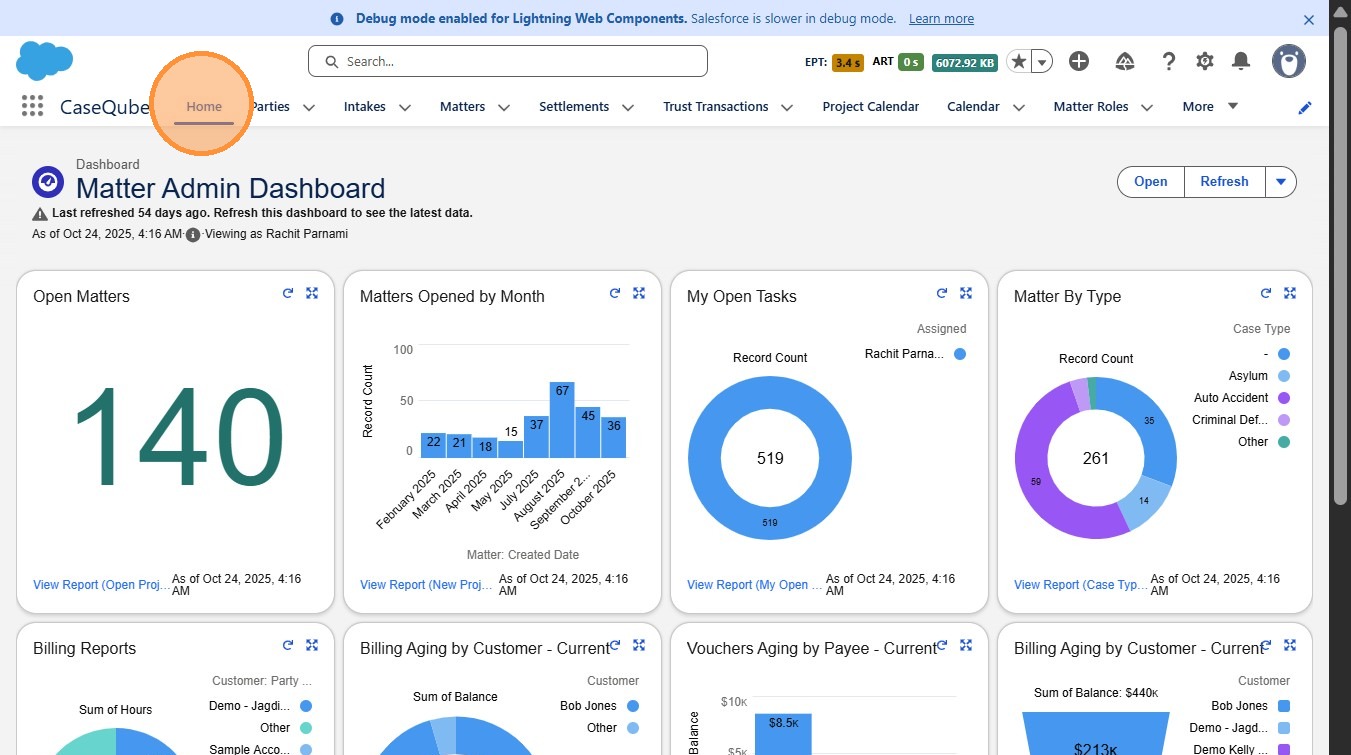
1. Step 1: Login to SalesForce
- Login to Salesforce Using Your Secure Credentials
 />
2. ### Step 2: Navigate to Receipts
-
Using the App Launcher open the Revenue Management App.
-
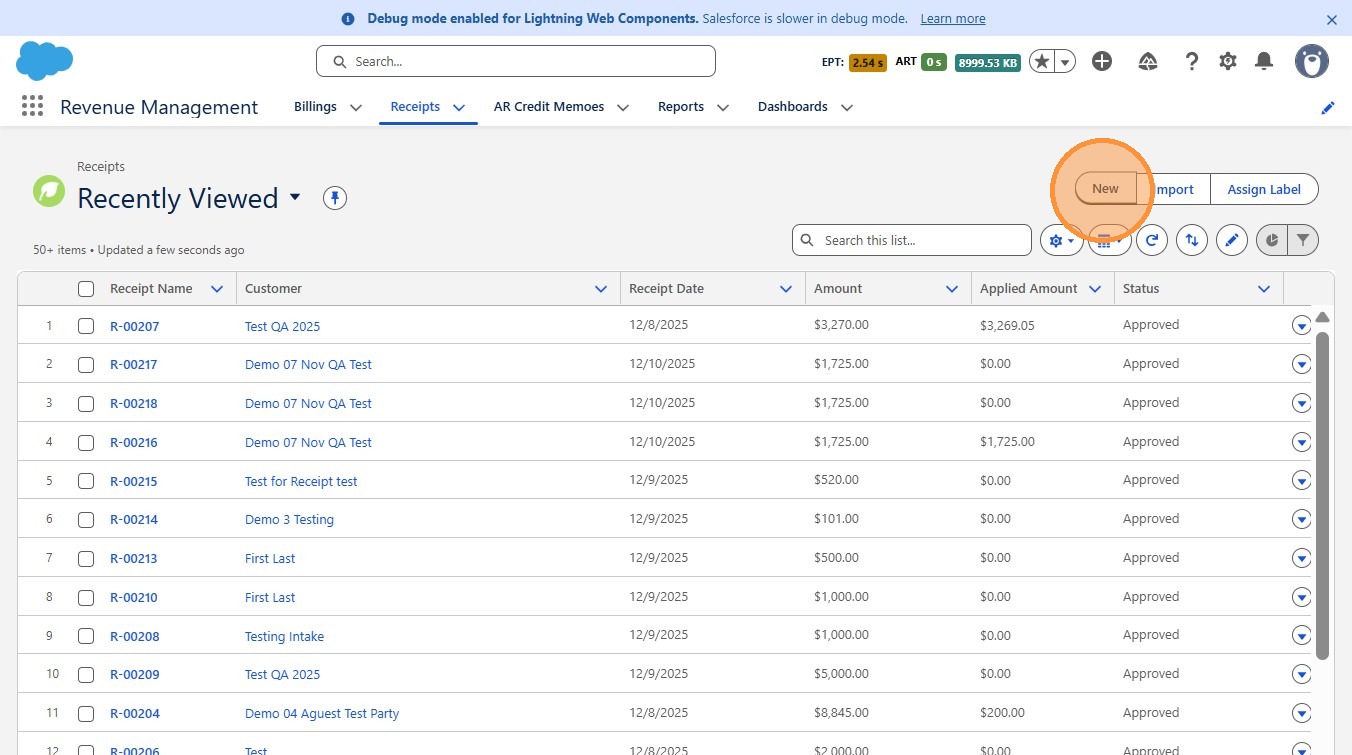
Click on the Receipts tab to view all existing receipts.
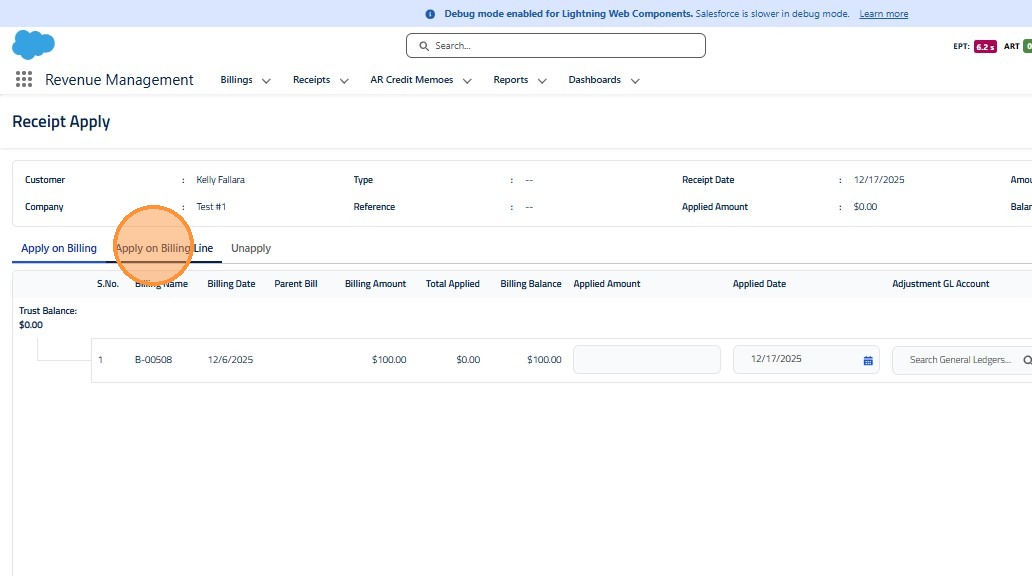
 />
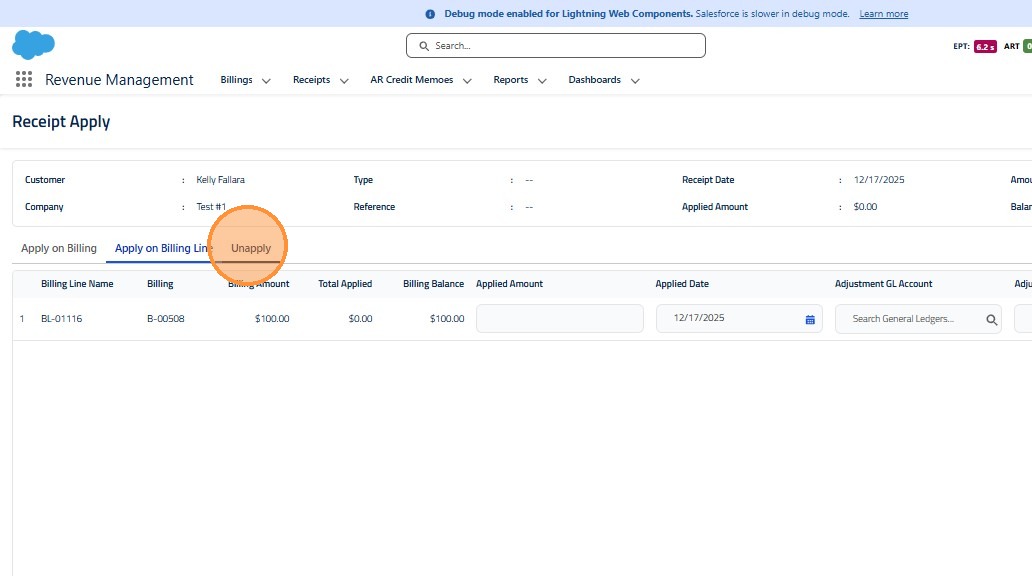
3. ### Step 3: Create a New Receipt
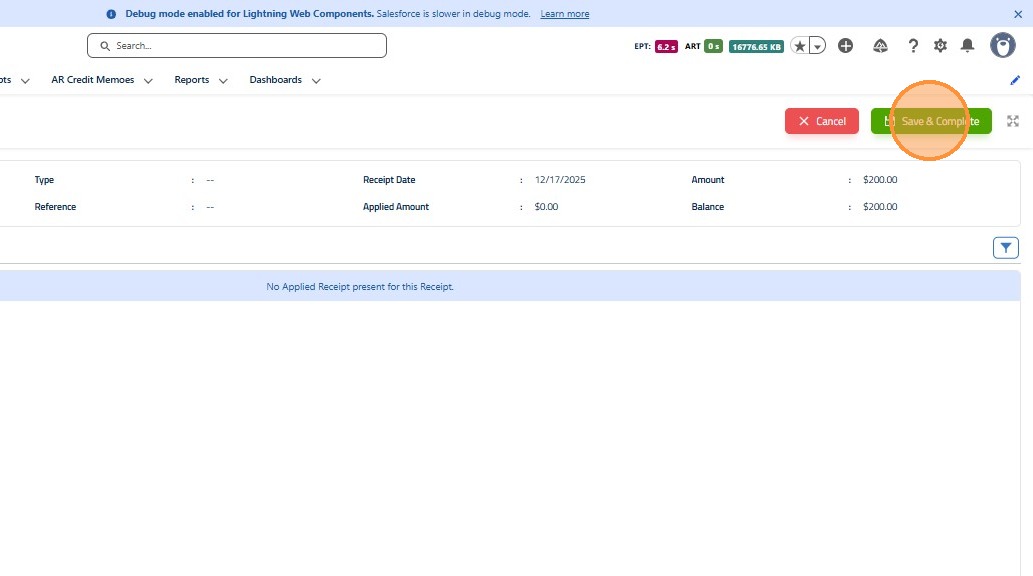
- Click the New button to create a new receipt entry.
 />
4. ### Step 4: Complete Receipt Fields
Enter the following required information:
-
Customer:
Use the lookup icon to search for and select the client who made the payment. -
Receipt Date:
Defaults to the current date.- Click the calendar icon to select a different date if needed.
-
Bank Account:
Select the bank account where the payment was deposited. -
Credit GL Account:
Choose the appropriate general ledger account to credit the received funds. -
Amount:
Enter the total amount received. -
Method of Payment:
Select the payment method used by the client (e.g., EFT, Wire Transfer). -
Save the receipt.
 />
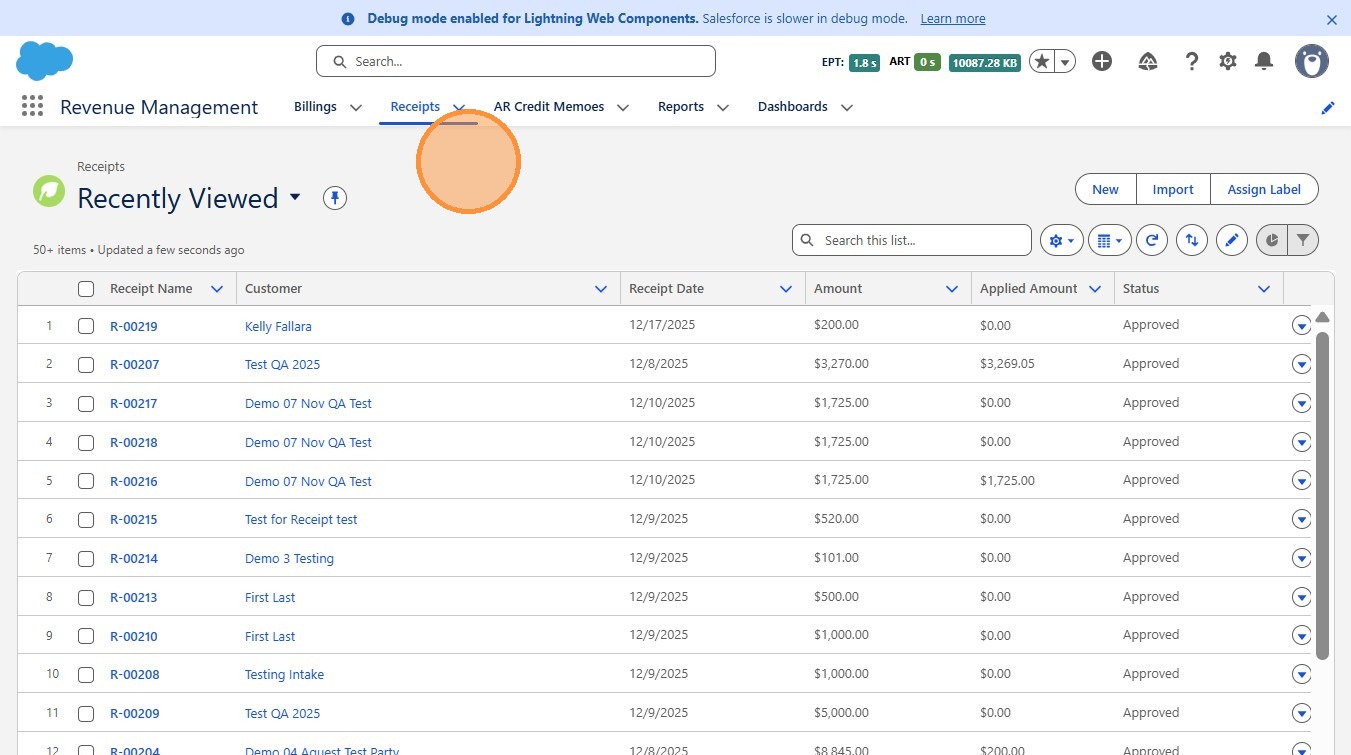
5. ## Receipt List View
-
Displays all recorded receipts in the system.
-
Allows users to quickly locate and manage existing receipt records.
 />
6. ### Step 5: Open Apply/Unapply Screen
- From the Receipt record or list view, click Apply/Unapply.
 />
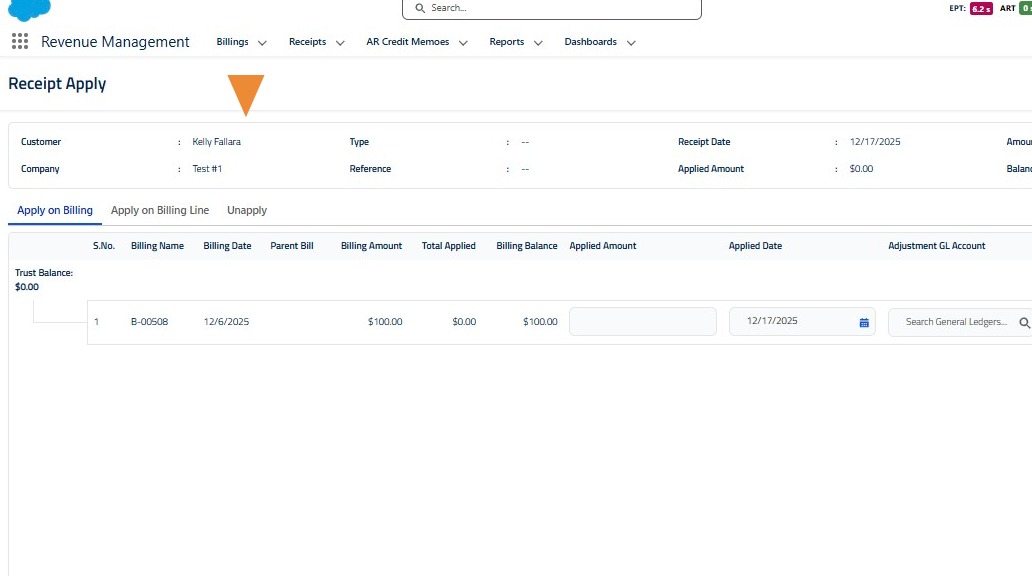
7. ### Step 6: Review Receipt Details
- The top section displays customer and receipt information.
 />
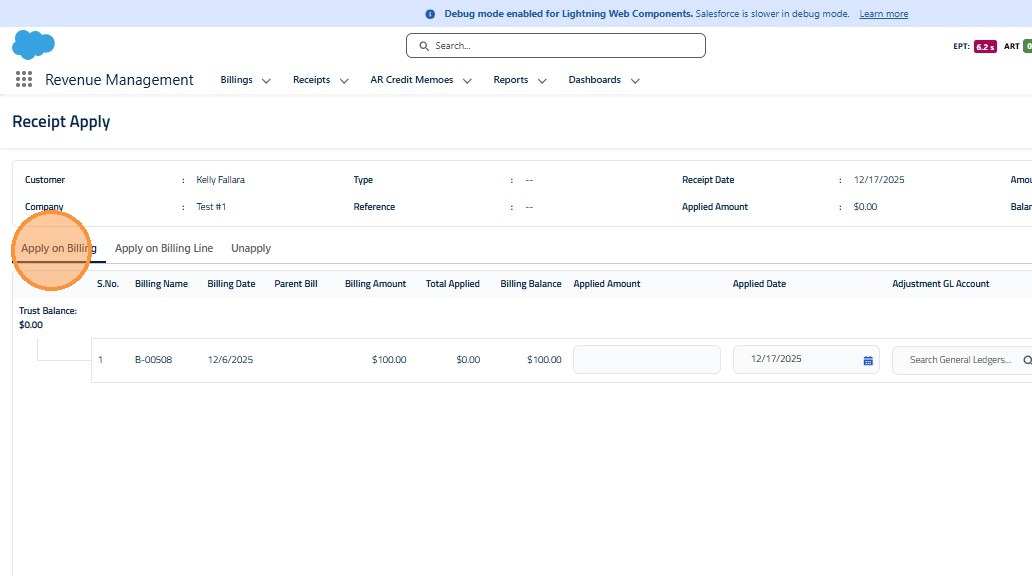
8. ### Step 7: Apply the Receipt
Use one of the following sub-tabs to apply the receipt amount:
Apply on Billing:
-
Displays invoices matching your filter criteria.
-
Enter the amount to apply to each invoice.
 />
9. Apply to Billing Lines:
- Allows application of the receipt to specific line items within invoices for more detailed allocation.
 />
10. Unapply Receipt:
- Used to remove previously applied receipt amounts if corrections are needed.
 />
11. Step 8: Save Receipt
-When completed click Save & Complete
 />
12. Refunding a Receipt
Step 1: Locate Receipt
-Open the receipt associated with the payment you want to refund.
Click "Details"
 />
13. ### Step 2: Initiate the Refund
-
Click the Refund button on the receipt screen.
-
A dedicated Refund pop-up window will open.
 />
14. ### Step 3: Enter Refund Details
-
Enter the refund amount.
-
Complete any required refund details (such as date or notes, if applicable).
-
Click Next
 />
15. ### Step 4: Confirm the Refund
-
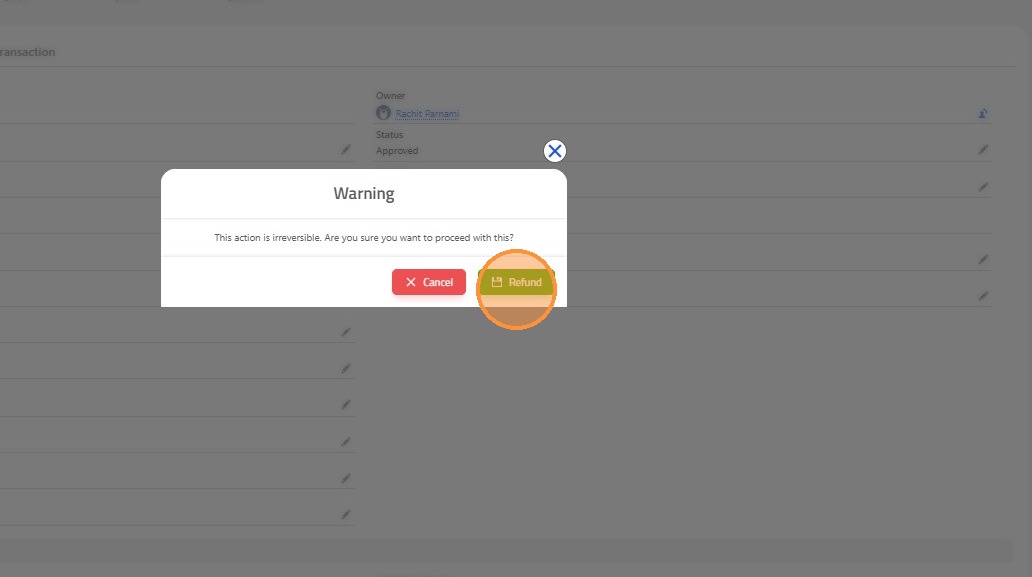
Review the refund information carefully.
-
Confirm the refund to proceed.
 />
16. ### Step 5: System Recording (Automatic)
Once confirmed, LawAccounting automatically:
-
Generates a refund disbursement
-
Updates the receipt to reflect the refunded amount in the designated field
-
Ensures the refund is properly recorded in your accounting records
 />