This guide provides a step-by-step process for applying a credit memo in a revenue management system, ensuring accuracy and efficiency in billing operations. By following these instructions, users can streamline their financial transactions, maintain accurate records, and enhance customer satisfaction. It's an essential resource for anyone involved in billing or accounting, helping to minimize errors and save time.
1. Step 1:
-
Log In
- Access LawAccounting/CaseQube using your secured credentials.
-
Navigate to Revenue Management
-
Click the App Launcher (nine-dot icon).
-
Type Revenue Management in the search bar.
-
-
Open Billings Tab
- Click Billings
- Click on Bill you want to apply credit memo
-
Apply Credit Memo
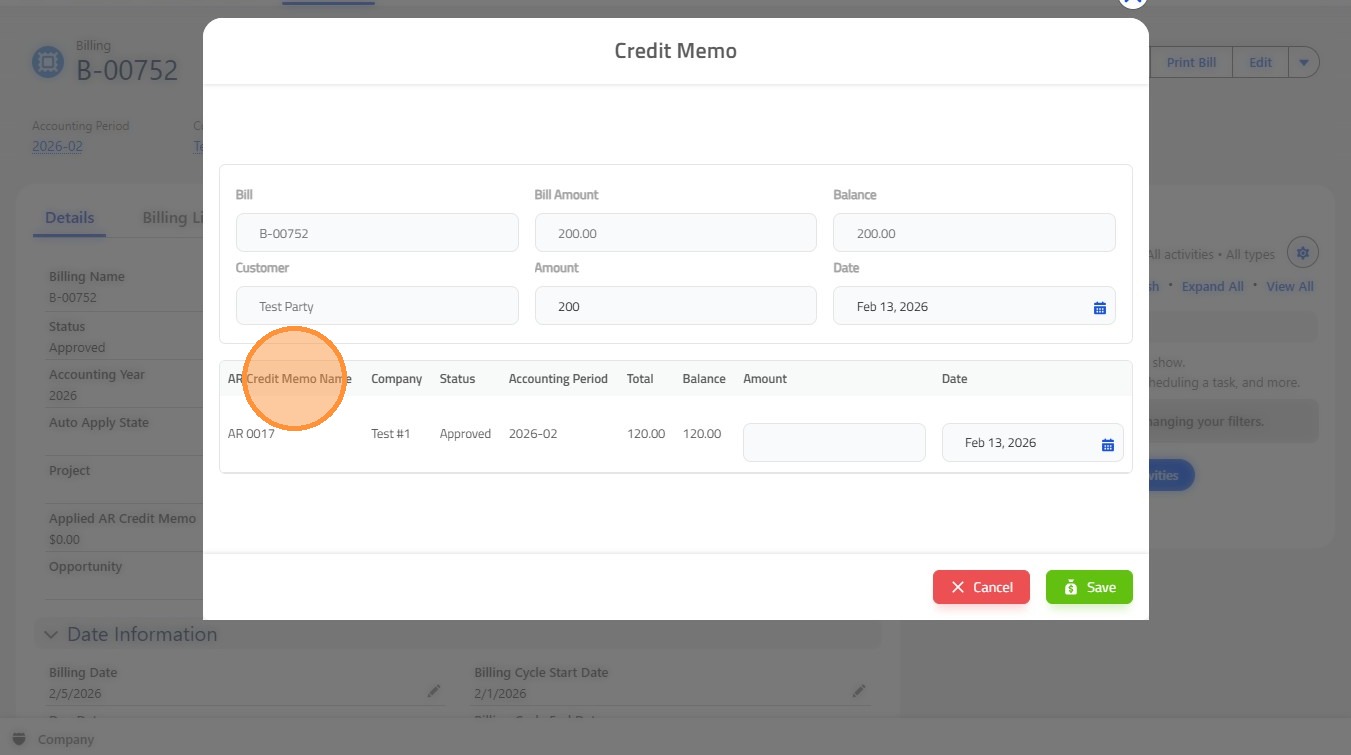
- Click AR Credit Memo Apply to open AR Credit Memo Screen
 />
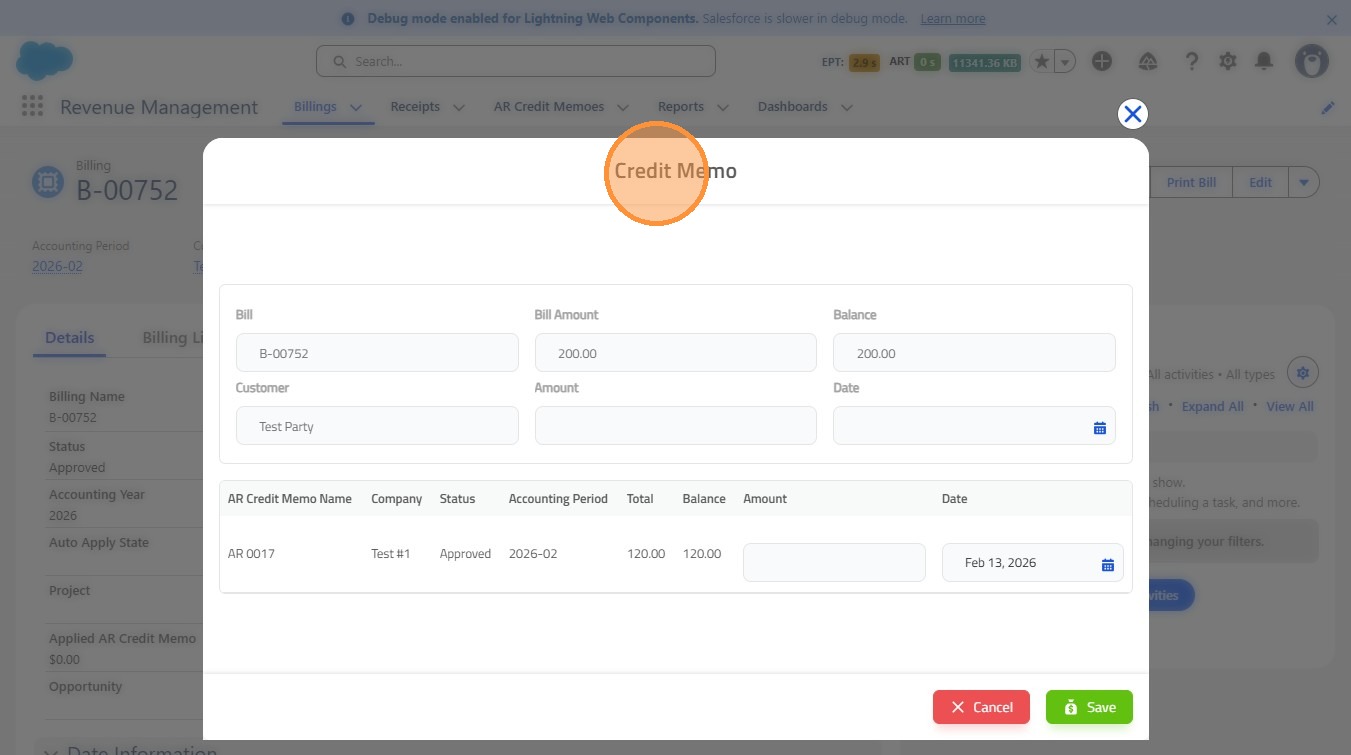
2. Understanding The Credit Memo Screen
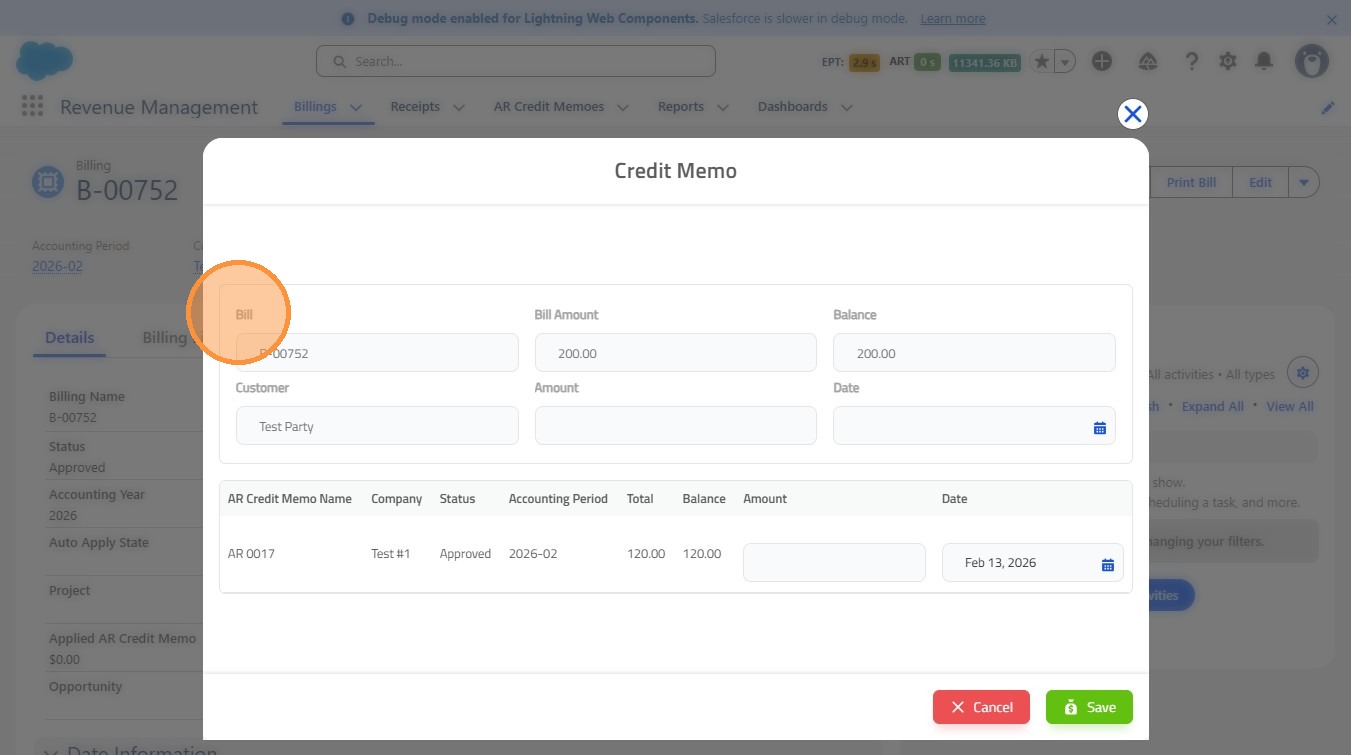
- Bill: Automatically populates with the bill name
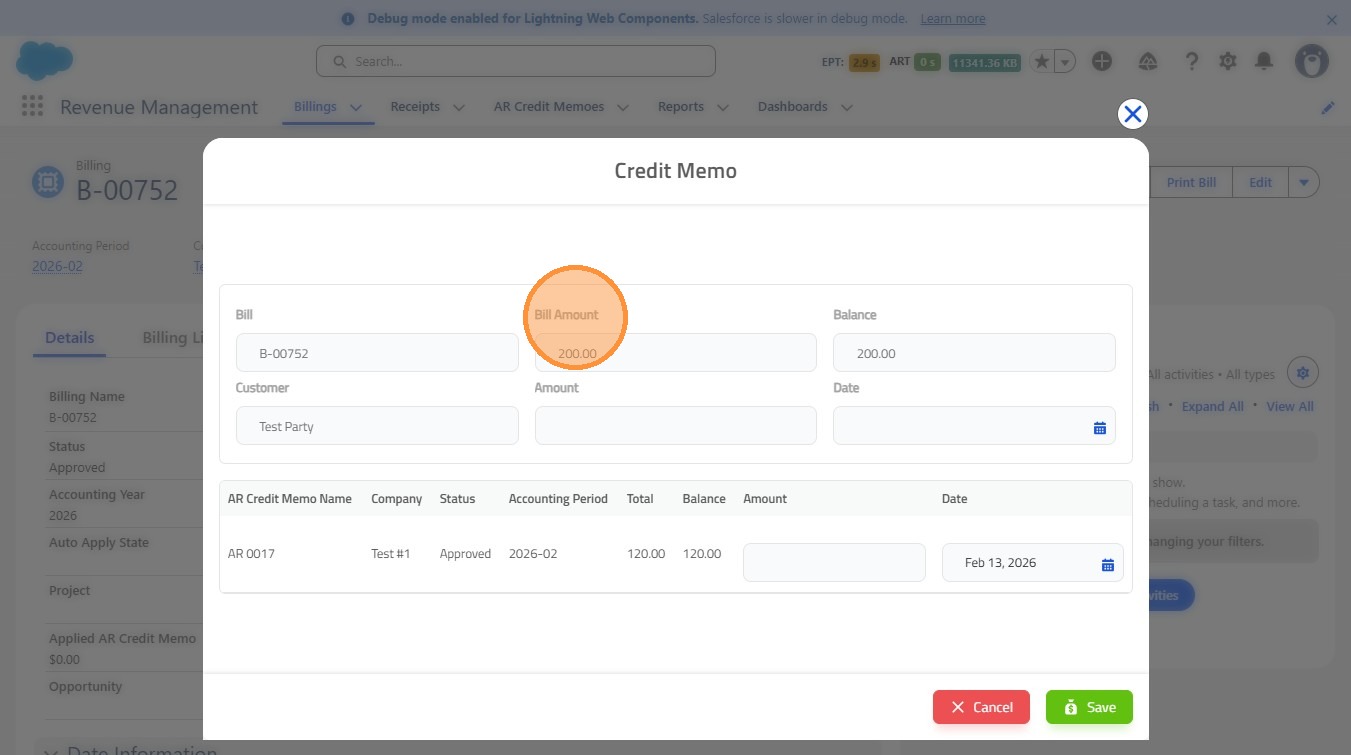
- Bill Amount: Automatically populates with the bill amount
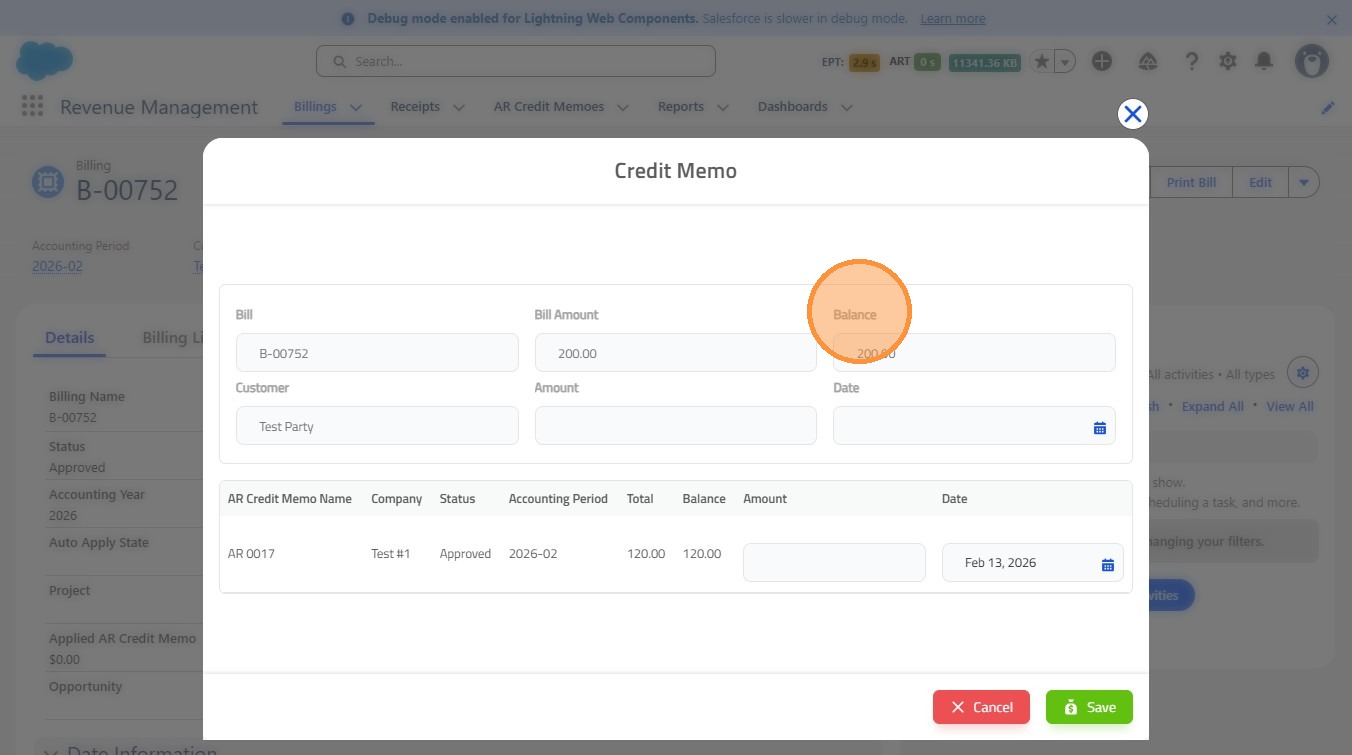
- Balance: Automatically populates with the remaining balance
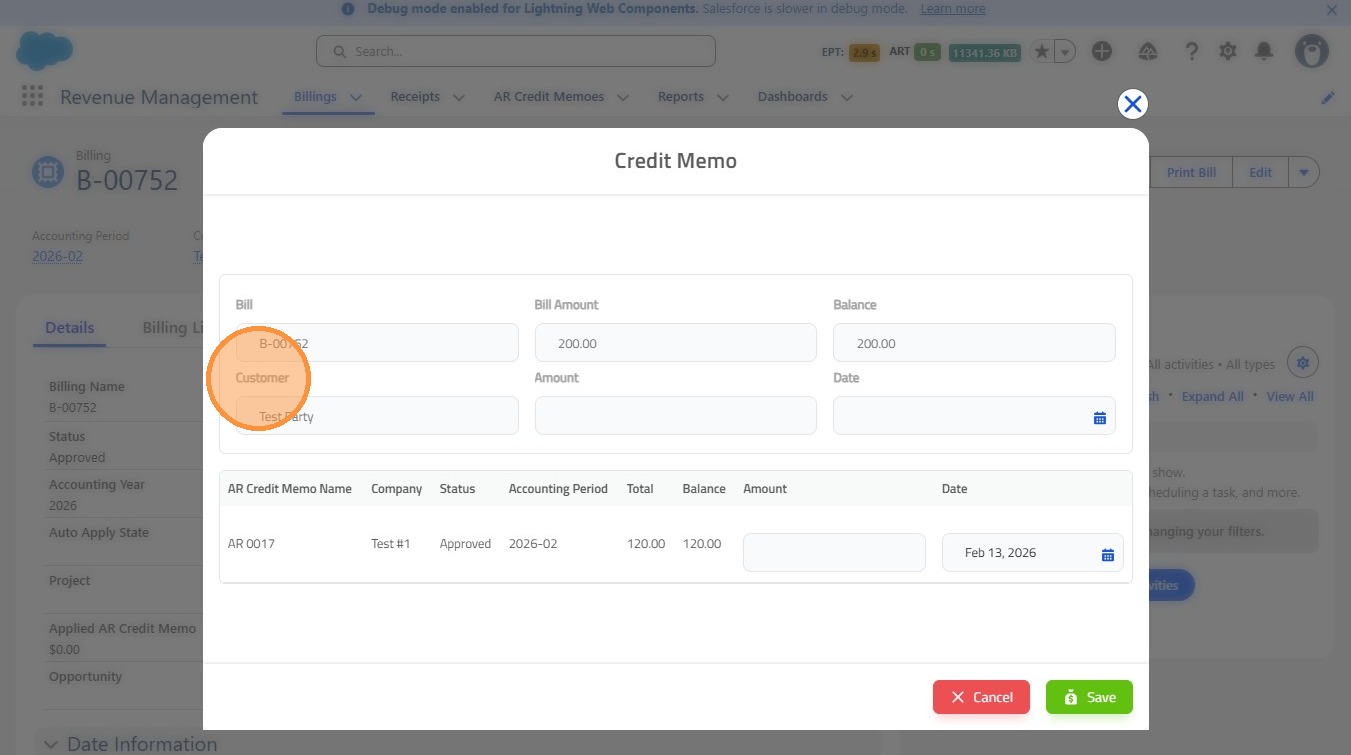
- Customer: Automatically populates with the customer associated with the bill
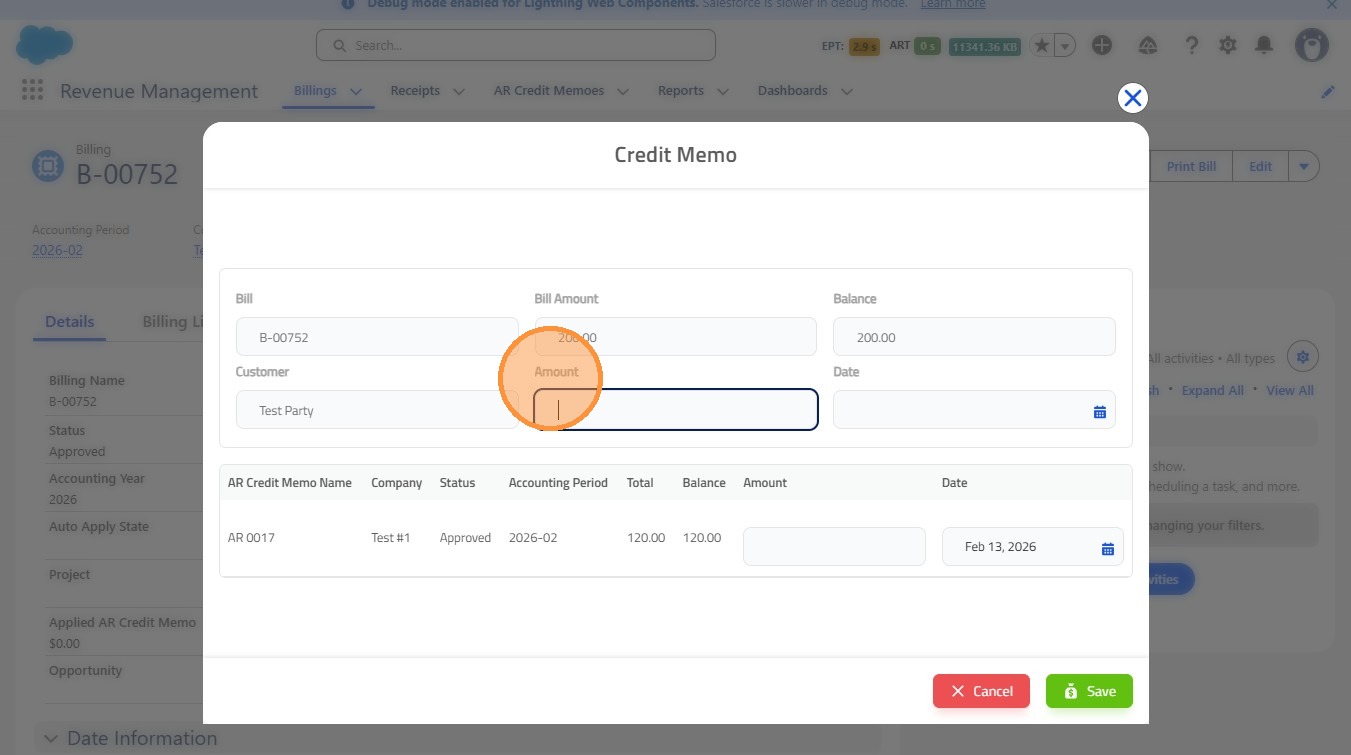
- Amount: Automatically populates with the amount
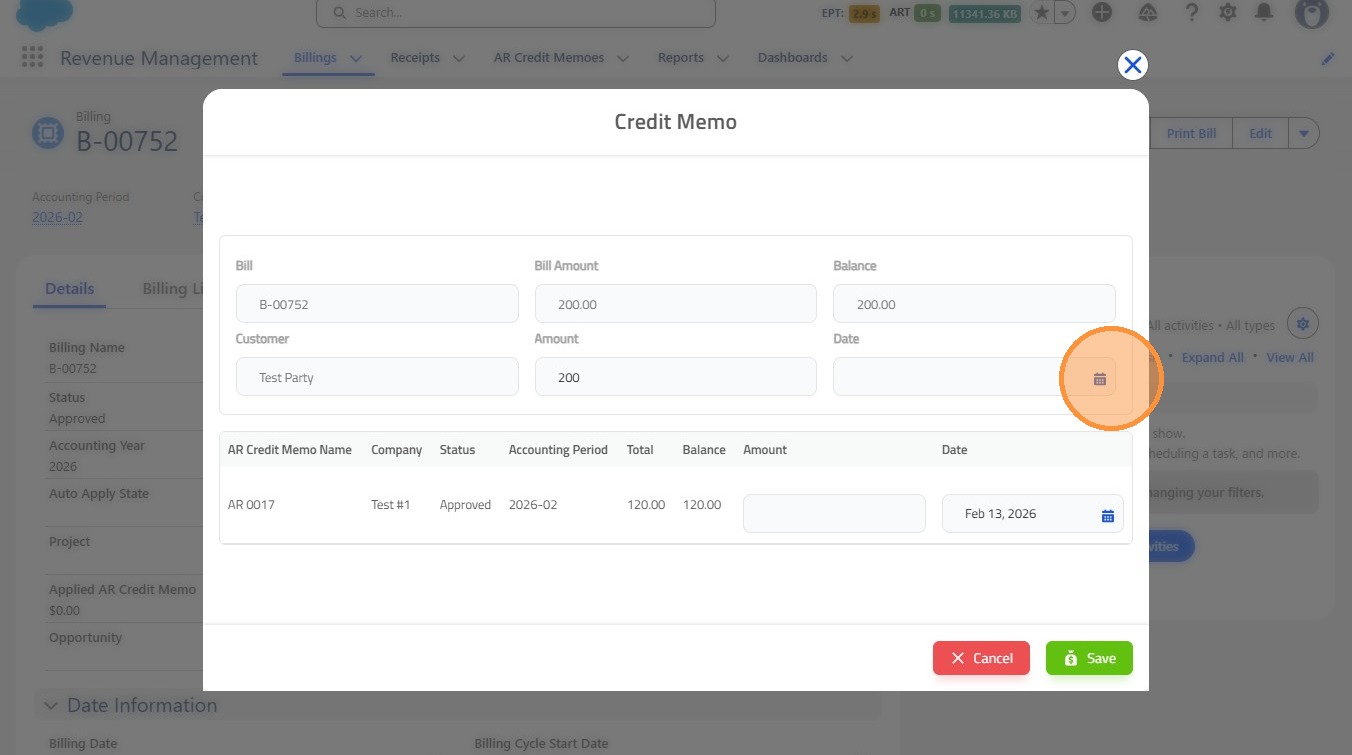
- Date: Select the date using the calendar icon
Understanding the Credit Memo Lines
- AR Credit Memo Name: Automatically populates with the credit memo name
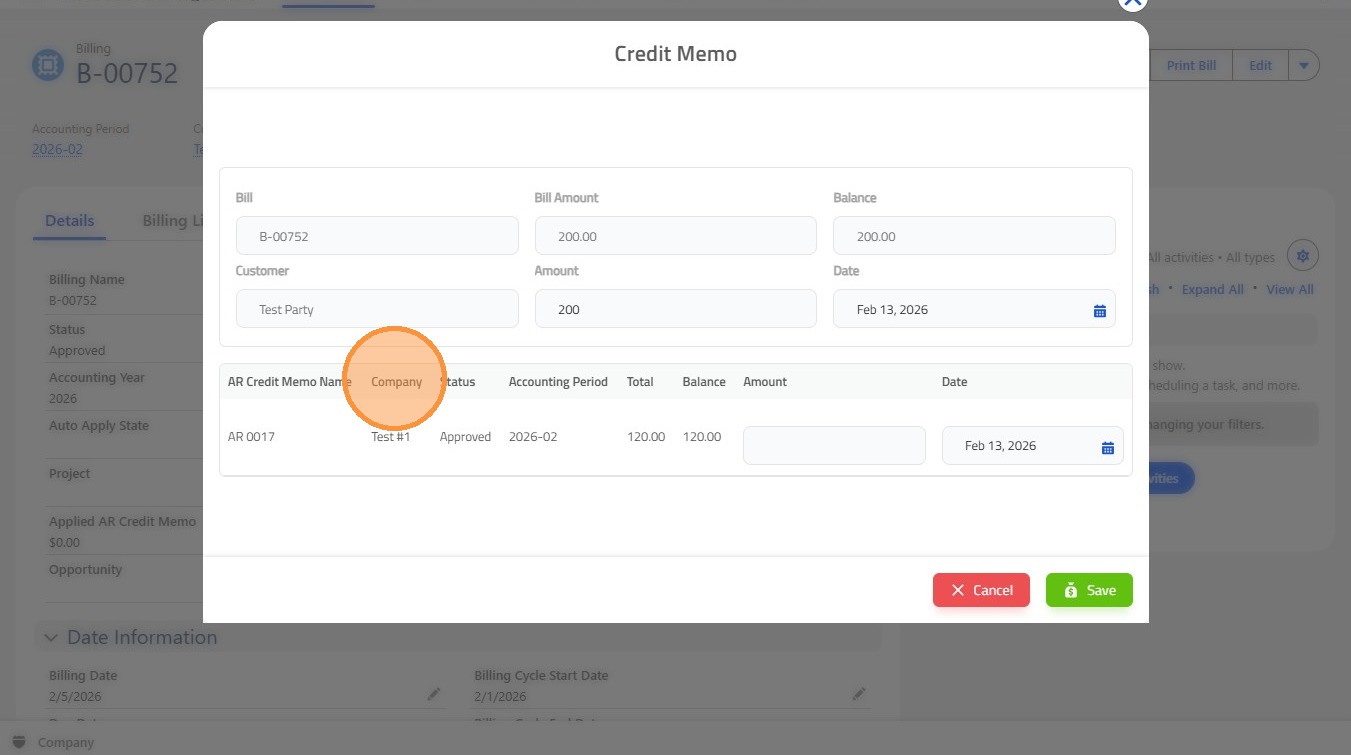
- Company: Automatically populates with the company
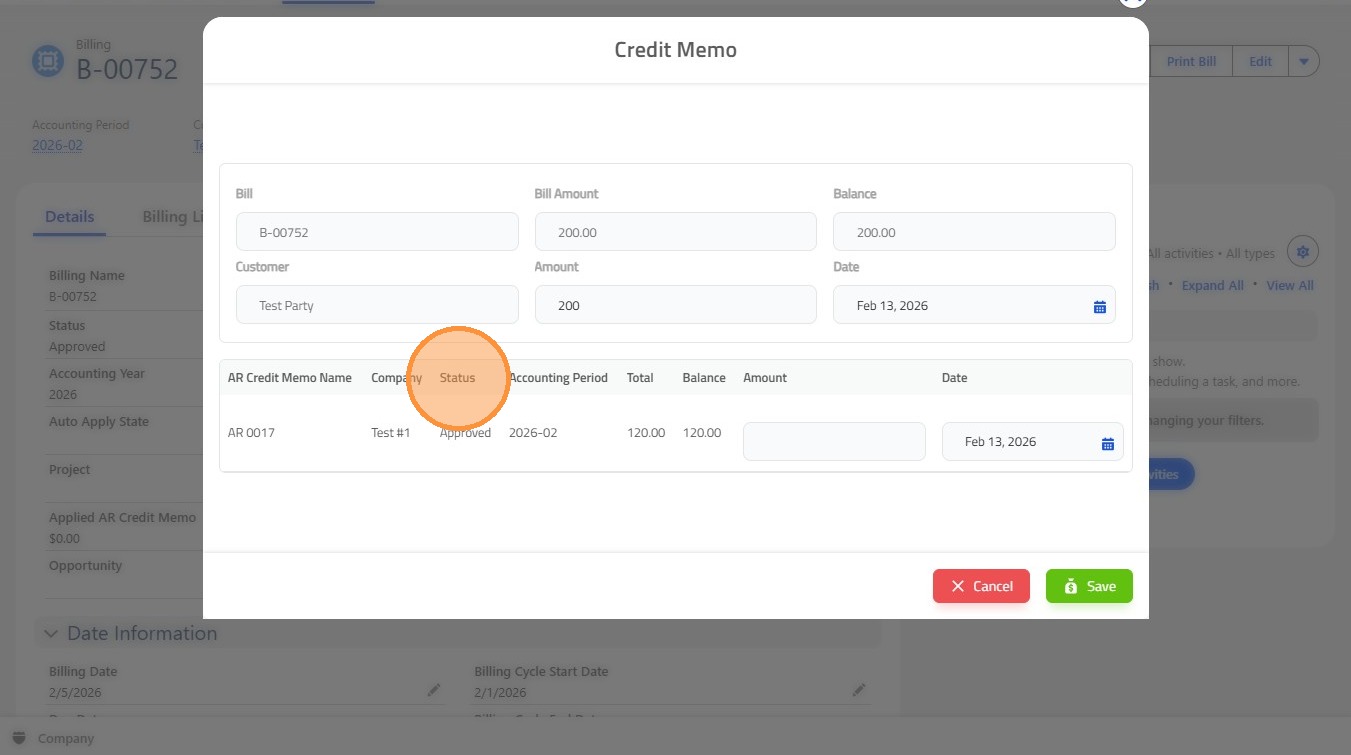
- Status: Automatically populates with the status of the bill
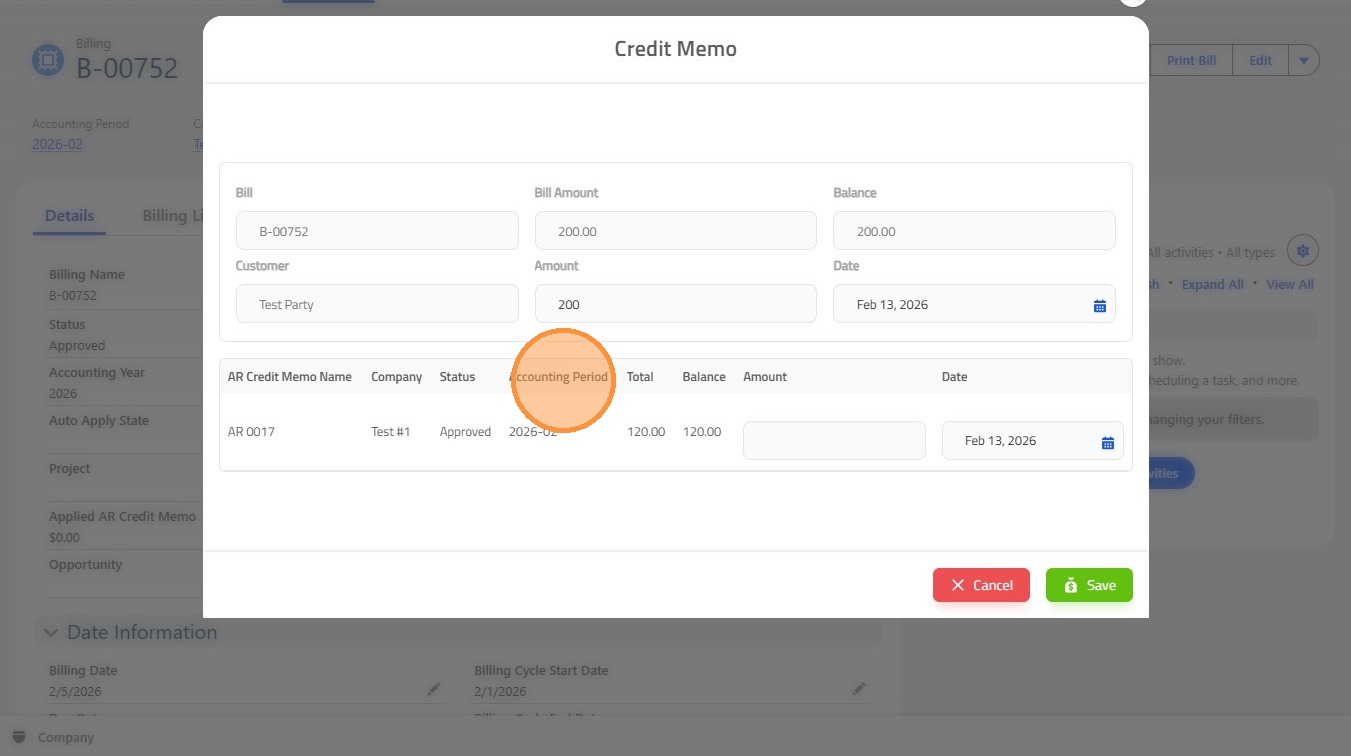
- Accounting Period: Automatically populates based on the accounting period
- Total: Automatically populates
- Balance: Automatically populates
- Amount: Enter the amount to be applied
- Date: Select the date using the calendar icon
 />
3. Click "Bill"
 />
4. Click "Bill Amount"
 />
5. Click "Balance"
 />
6. Click "Customer"
 />
7. Click "Amount"
 />
8. Click the "Date" field.
 />
9. Click "AR Credit Memo Name"
 />
10. Click "Company"
 />
11. Click "Status"
 />
12. Click "Accounting Period"
 />
13. Click "Total"
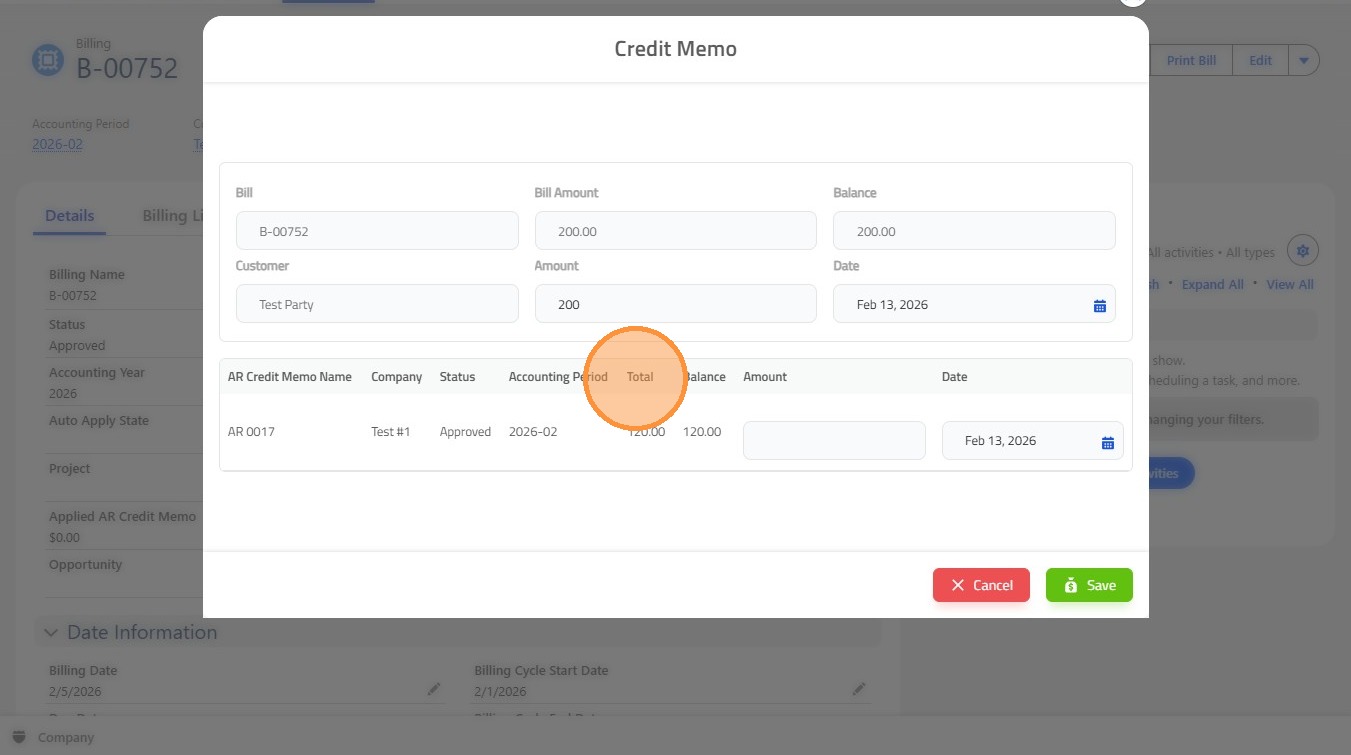 />
14. Click "Balance"
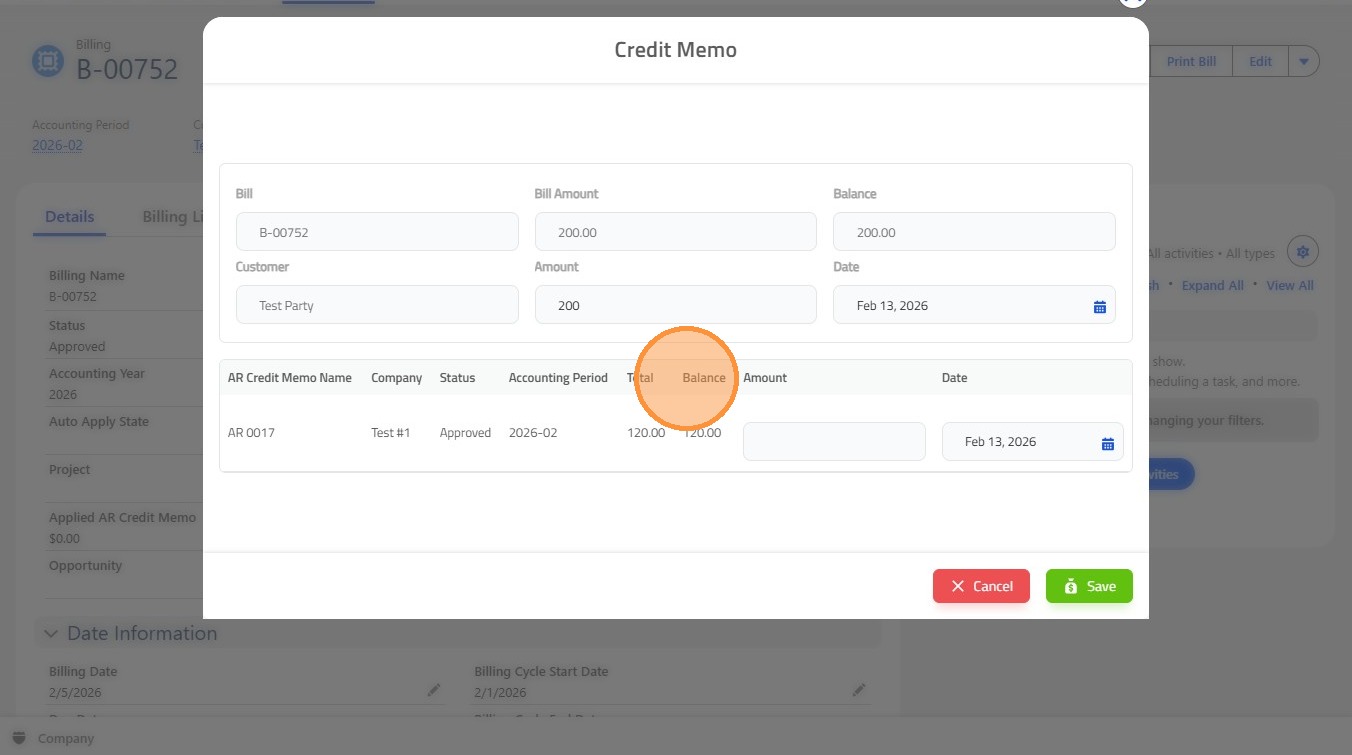 />
15. Click "Amount"
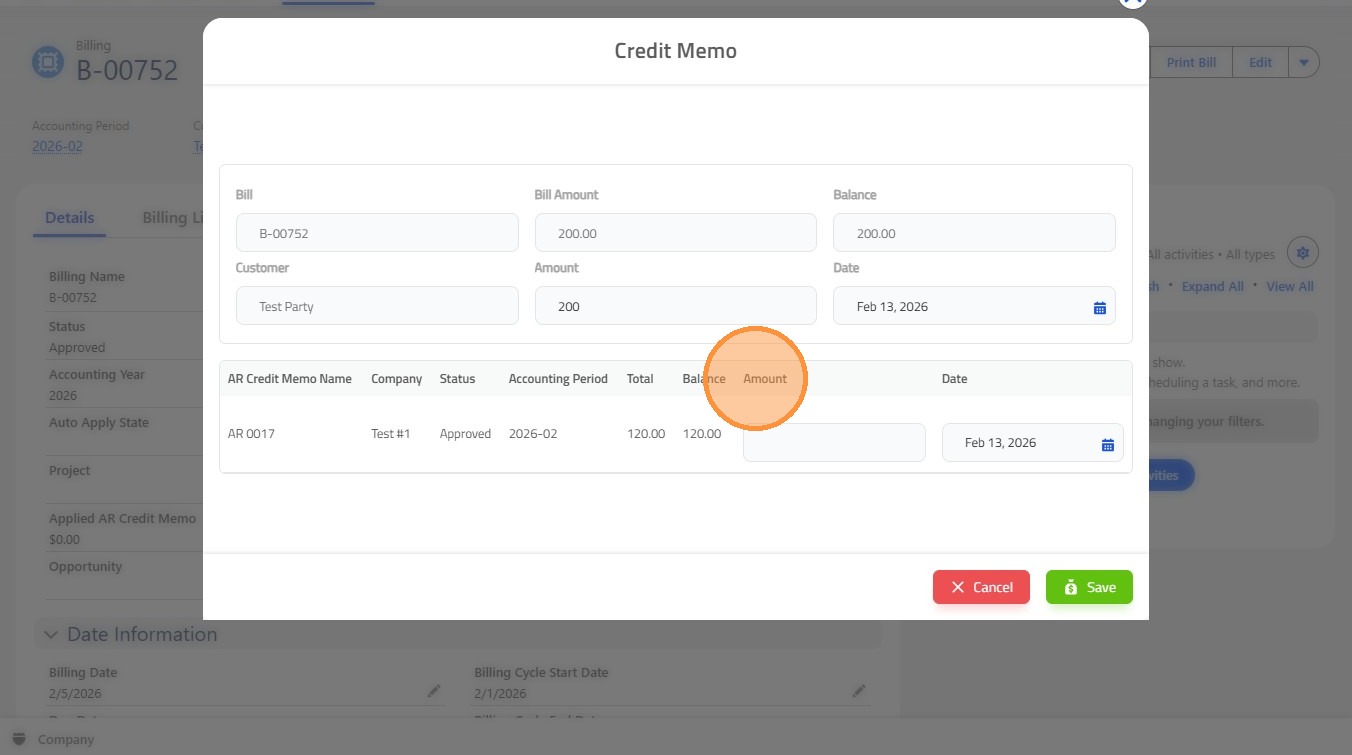 />
16. Click "Date"
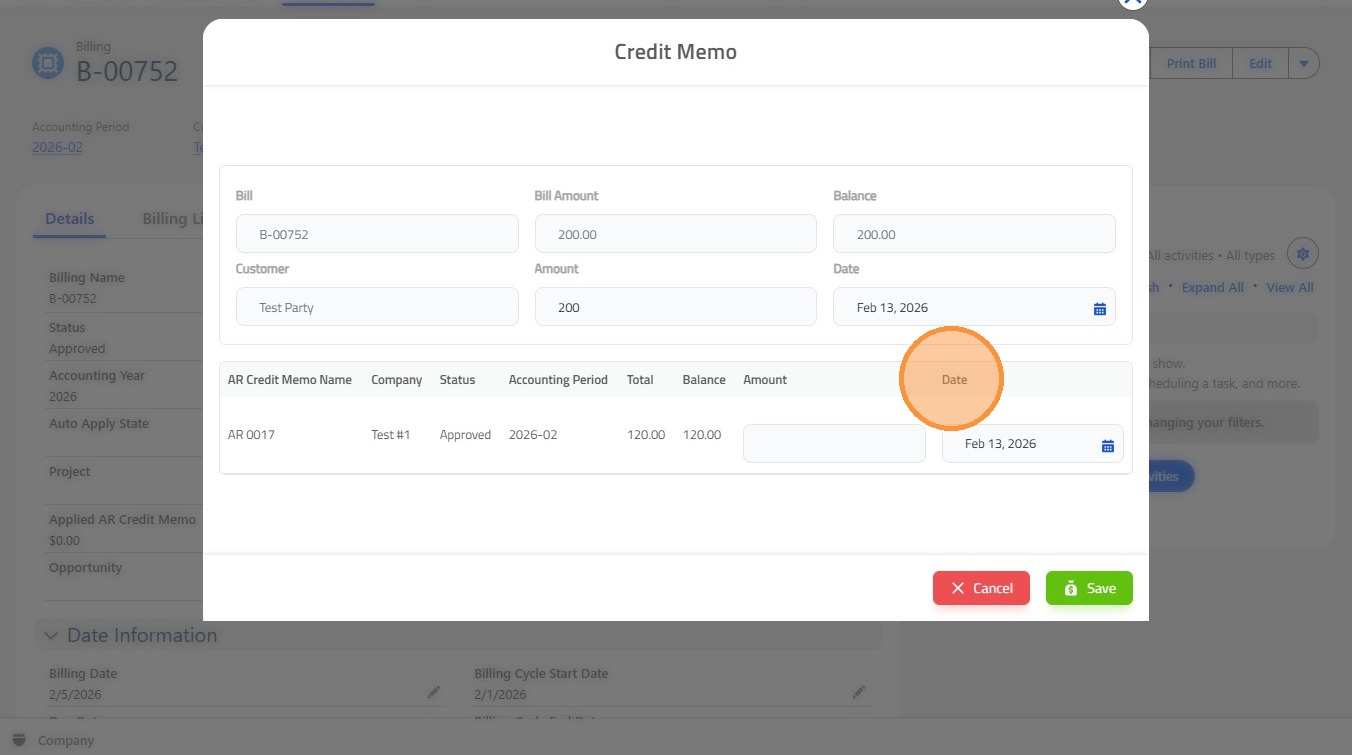 />
17. Step 2: Save & View
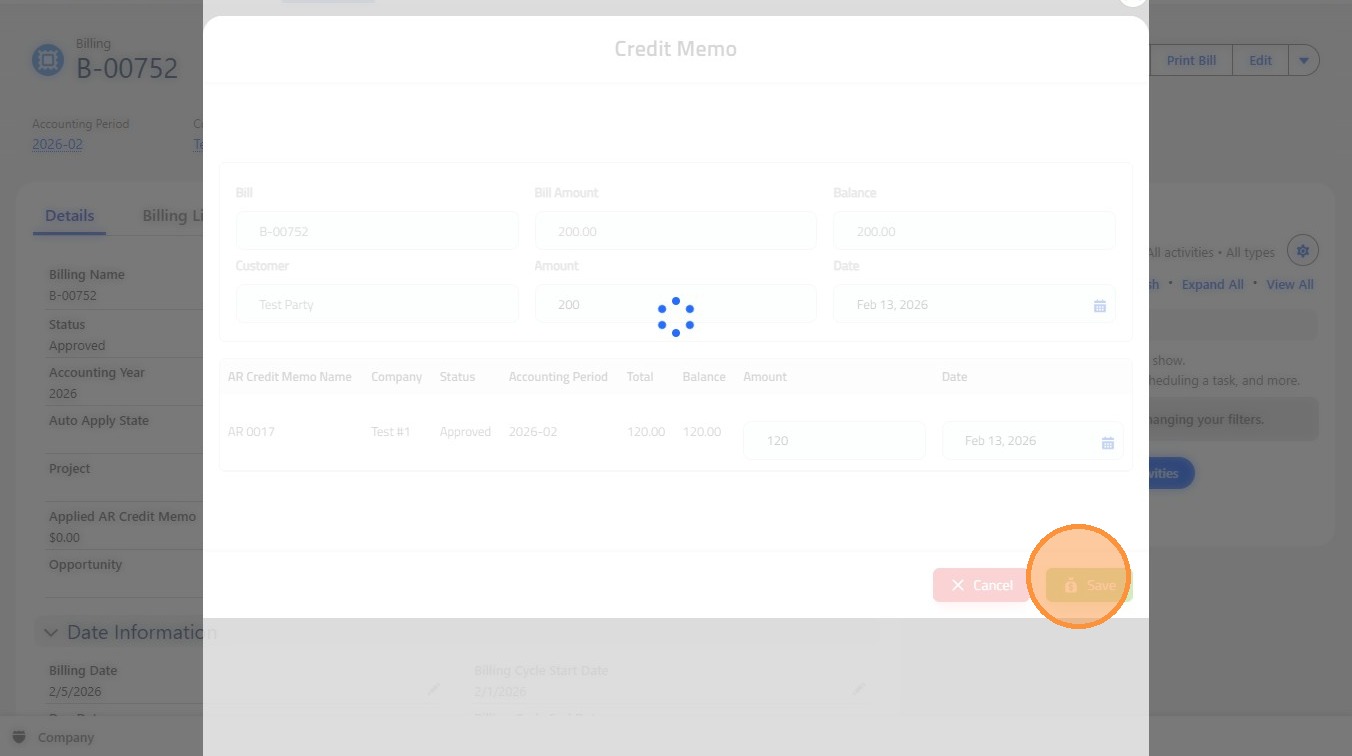
- When Credit Memo is complete click
- Screen will refresh to billing screen
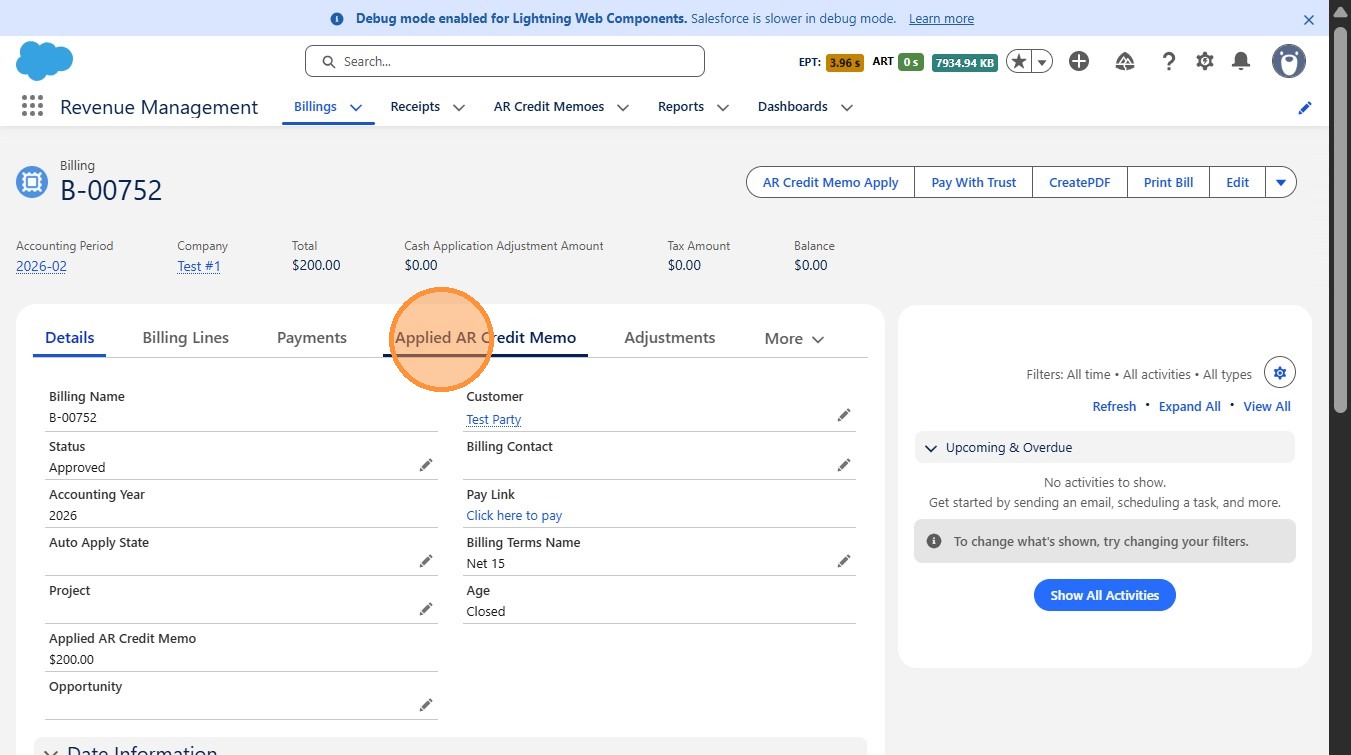
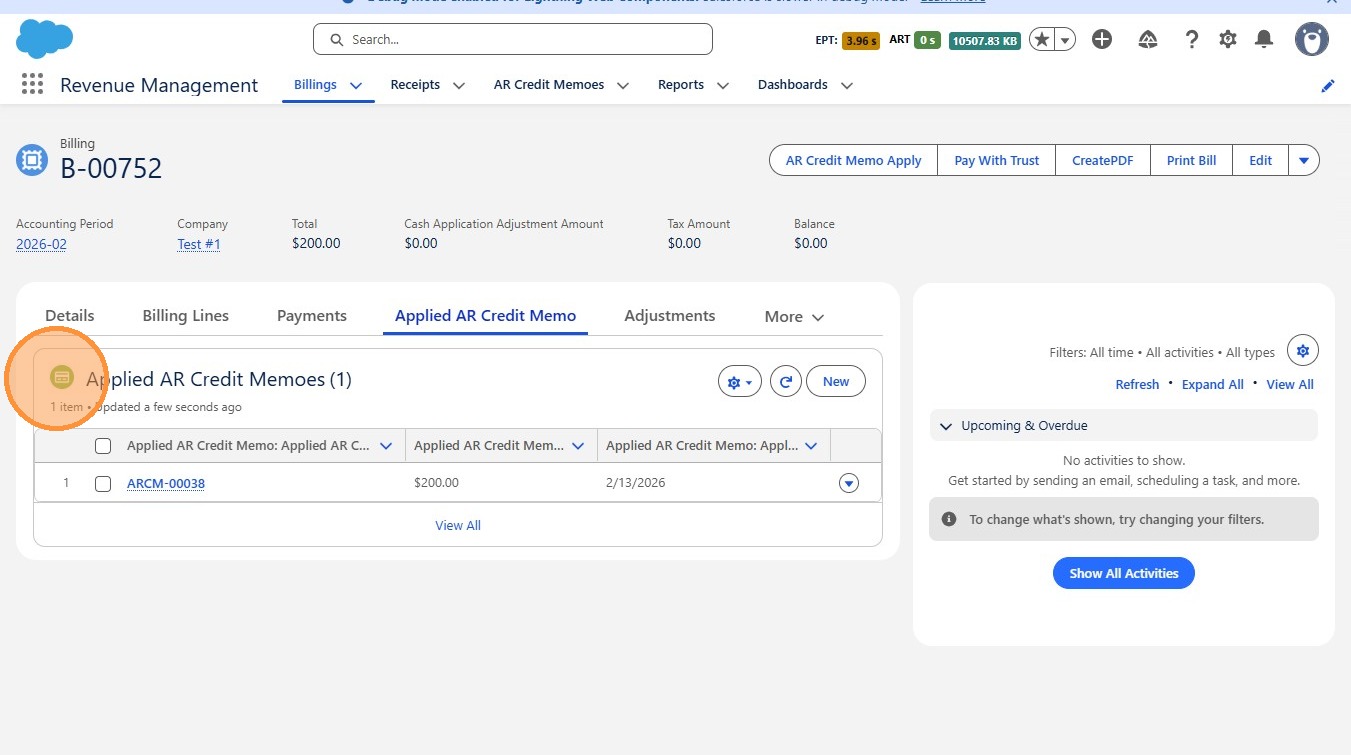
- Click Applied AR Credit Memo to view
 />
18. Click "Applied AR Credit Memo"
 />
19. Click this image.
 />