Purpose of Bank Reconciliation The Bank Reconciliation module in LawAccounting helps ensure that your firm’s internal accounting records match your official bank statement. Regular reconciliations help: -Identify and resolve discrepancies -Maintain accurate financial reporting -Protect your firm’s financial integrity
1. ### Step 1:
-
Log In
- Access LawAccounting/CaseQube using your secured credentials.
-
Navigate to Banking Application
-
Click the App Launcher (nine-dot icon).
-
Type Banking in the search bar.
-
Select Bank Reconciliation Tab
-
-
Create a New Reconciliation
- Click the New button to create a new bank reconciliation record.
 />
2. ### Step 2: Enter Bank Reconciliation Details
Complete the following fields:
-
Bank Reconciliation Name:
Enter a descriptive name for easy identification. -
Statement Starting Balance:
Enter the starting balance shown on your bank statement. -
Statement Ending Balance:
Enter the ending balance shown on your bank statement. -
Statement Start Date:
Select the beginning date of the bank statement period. -
Statement Ending Date:
Select the ending date of the bank statement period. -
Bank Account:
Choose the appropriate General Ledger bank account you are reconciling. -
Save the record to proceed.
 />
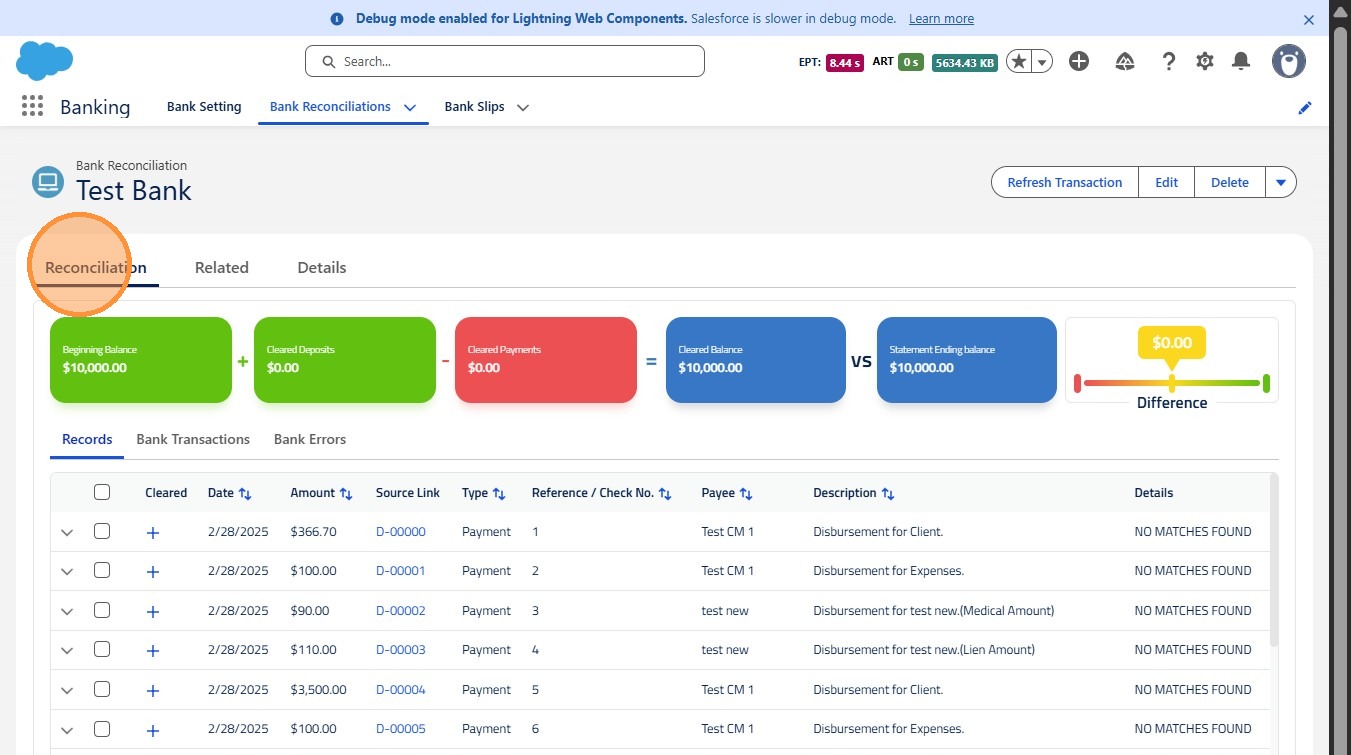
3. ## Step 5: Navigating the Bank Reconciliation Record
Once the reconciliation record is created, you will see three main tabs:
1. Reconciliation Tab
-
Summary View:
Displays a high-level overview of the reconciliation, including the statement ending balance and any outstanding items. -
Transaction Matching:
Shows checks, deposits, and other records alongside their matched bank transactions to confirm accuracy.
 />
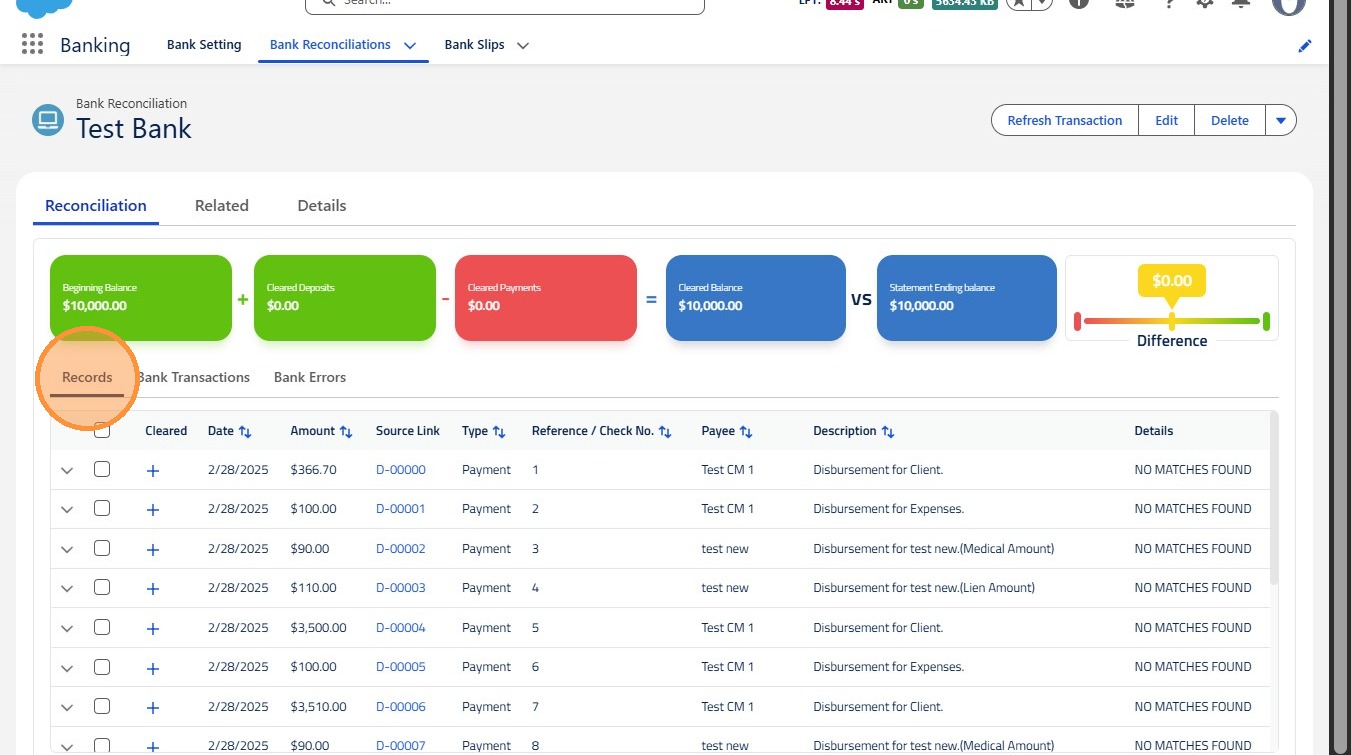
4. ## 2. Records Tab
-
Detailed Transaction View:
Review individual records including:-
Date
-
Amount
-
Transaction type
-
Associated parties
-
-
Matching & Clearance:
Identify matched records and clear them to manage outstanding items efficiently.
 />
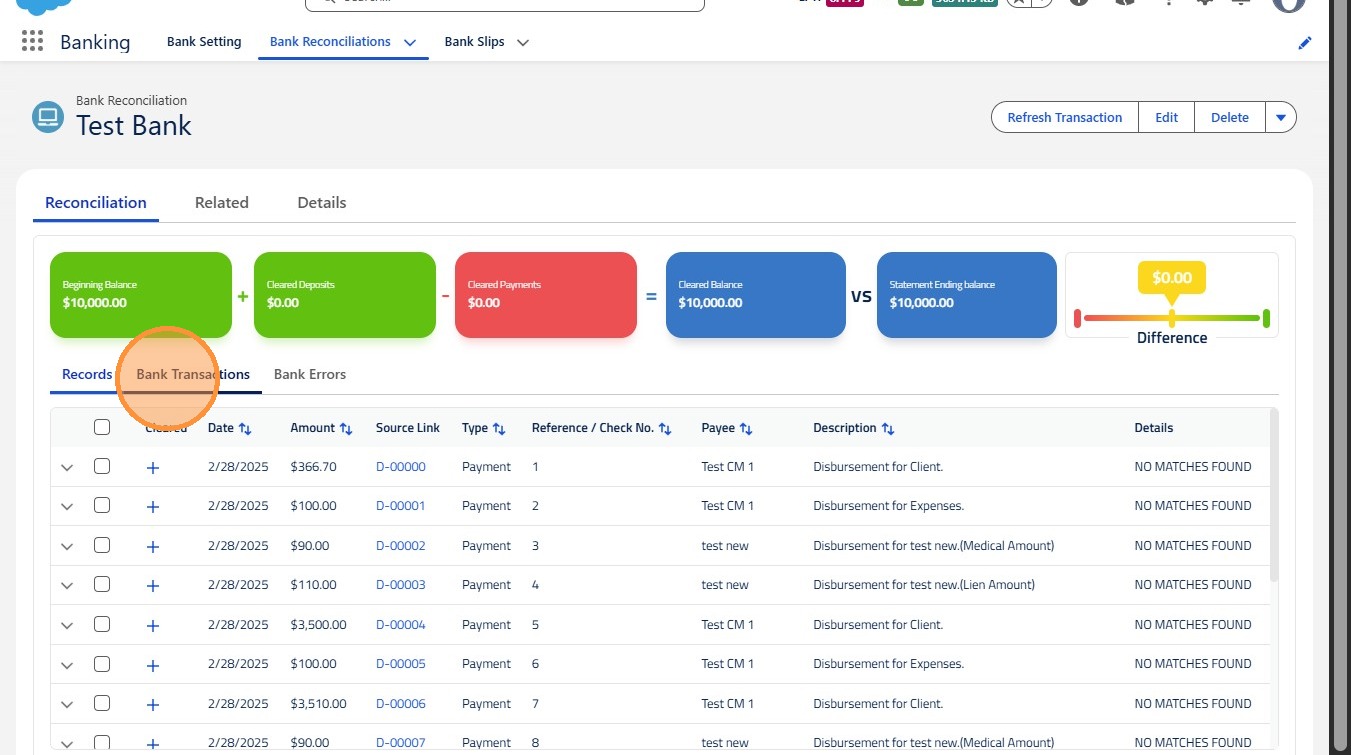
5. ## 3. Bank Transactions Tab
-
Imported Bank Transactions:
Displays all transactions imported from the bank. -
Matching or Record Creation:
-
Select both a bank transaction and a LawAccounting record to match them.
-
If no matching record exists, clear the transaction and create a new record in LawAccounting to properly account for it.
-
 />
6. Step 6: Understanding Additional Tools & Functionality
Related Tab:
View related journal entries, receipts, and disbursements tied to the reconciliation.
Click this image.
 />
7. Details Tab:
Track changes made to reconciliation fields throughout the process.
 />
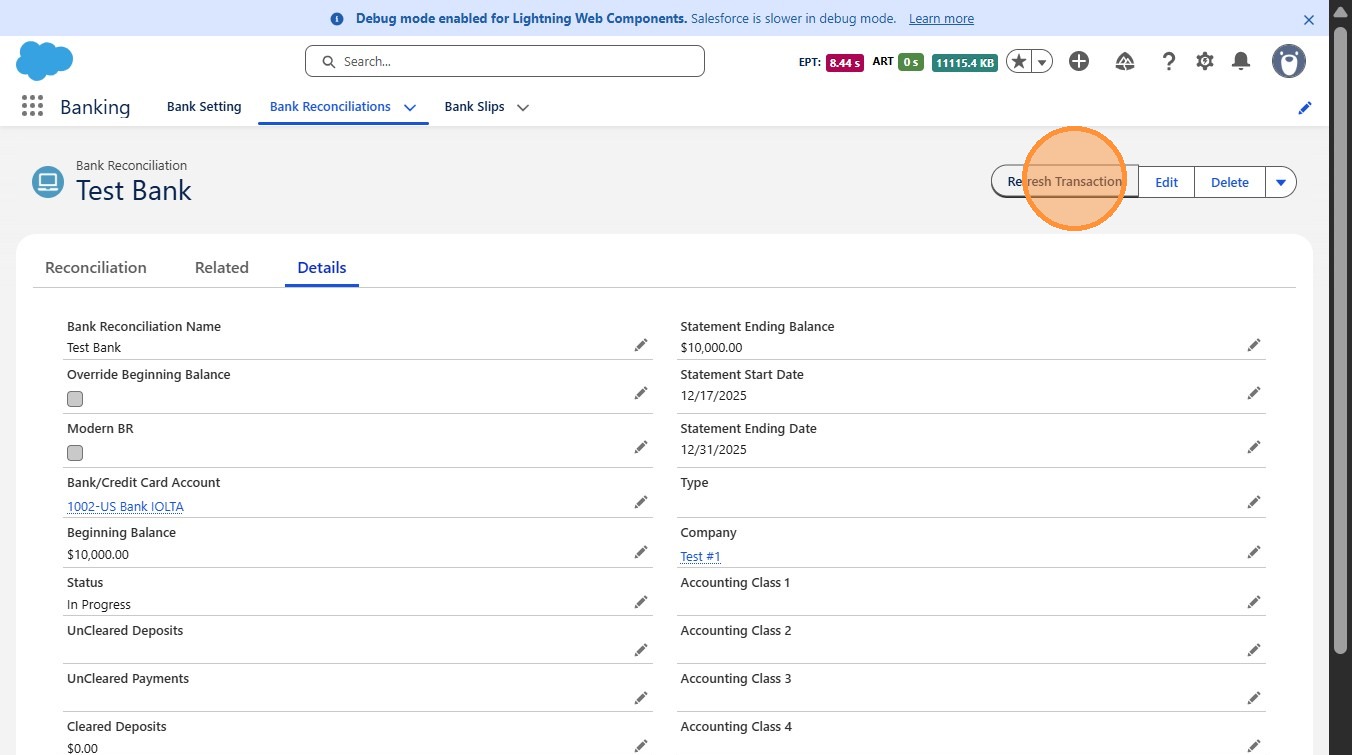
8. Refresh Transactions Button:
Updates all bank transactions associated with the reconciliation.
 />
9. Generate Reconciliation Report:
Download a PDF reconciliation report for records, audits, or compliance.
 />
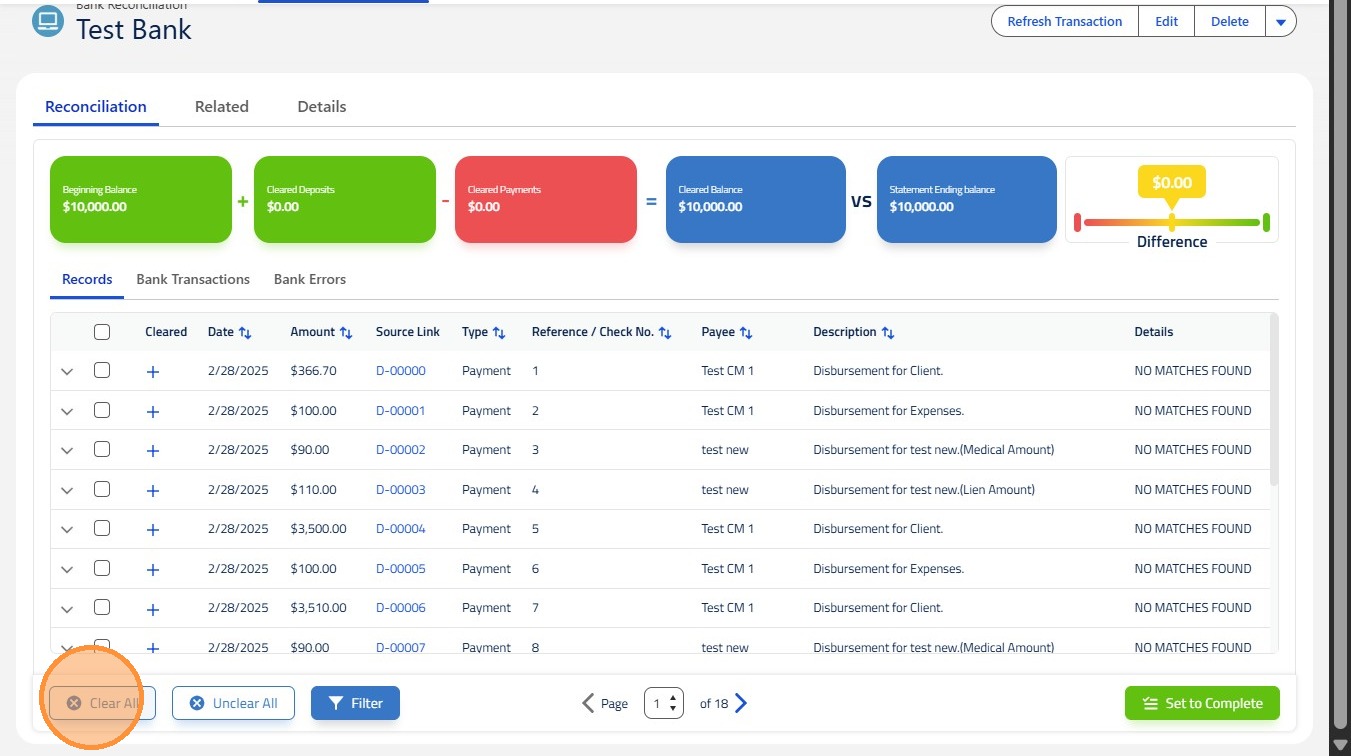
10. Clear All:
Removes all records currently included in the reconciliation.
 />
11. Filter:
Apply filters to narrow down records and focus on specific items.
 />
12. Set Complete:
Mark the reconciliation as complete once all discrepancies are resolved.
 />