This guide provides a step-by-step process for logging a billable time entry. The timer function is designed to help attorneys and staff accurately track the time they spend on tasks, matters, or clients
1. ### Step 1: Log In to SalesForce
-
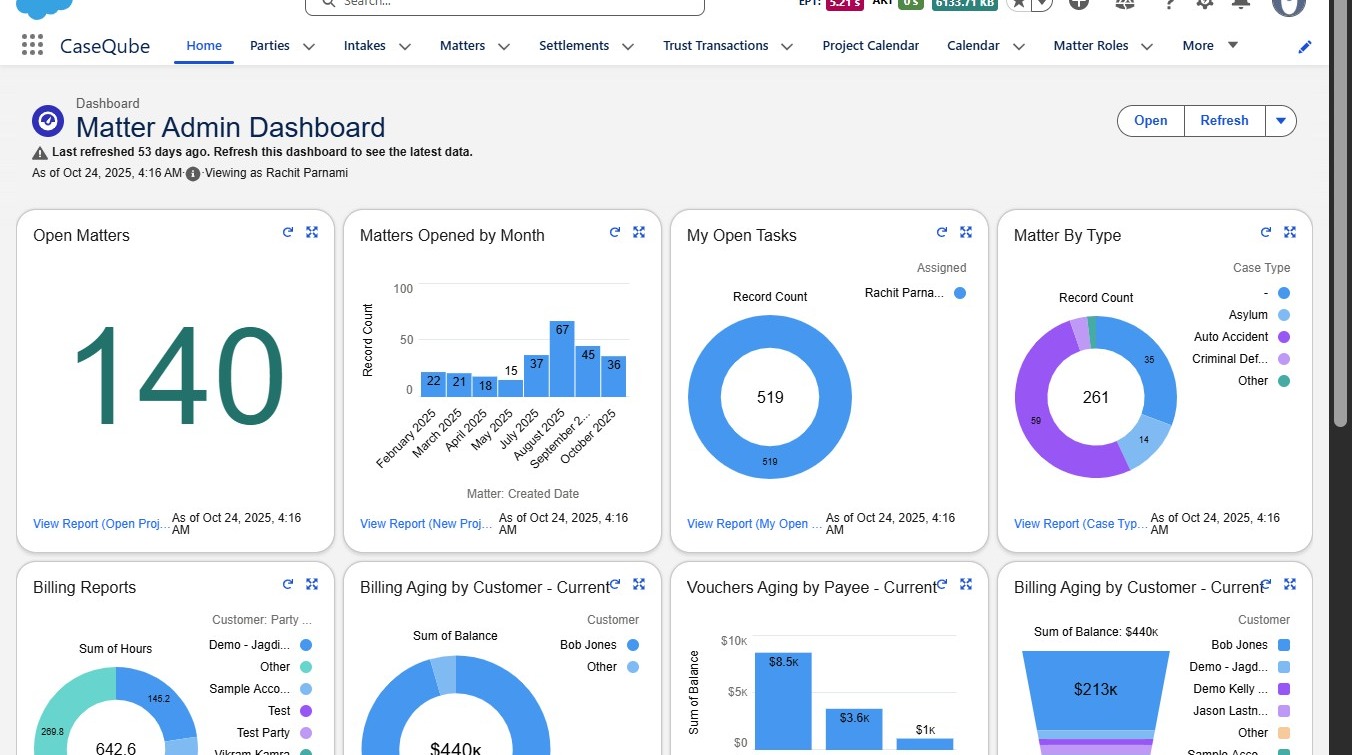
Login to SalesForce and enter your credentials.
-
Navigate to CaseQube
 />
2. ### Step 2: Click Matters Tab
- Click Matters Tab
- Select Matter you are Working on
Click "Sophia Fallara | Domestic Violence"
 />
3. ### Step 3: Access the Timer Function
-
Scroll to the bottom of the page and click on the Timer icon.
-
Select the Start button when you are ready to begin working on your assignment.
-
The timer will begin tracking your time in real-time.
Click here.
 />
4. #### Step 4: Pause or Stop the Timer
-
Click Pause to temporarily stop the timer if you need to take a break or switch tasks.
-
When the task or project is complete, click the Red Square (Stop) button to end the timer.
 />
5. #### Step 5: Enter Timer Details
-
After clicking the Stop button, you will be taken to the Time Entry Details page.
-
The following fields will be pre-filled: Duration (can be manually adjusted if necessary; must be at least 5 minutes to be billable) and Date.
-
Manually complete the remaining fields, including Project Name, Description of Work Performed, Timekeeper, Rate, and Client.
-
Confirm or edit the Duration if needed, mark the entry as Billable, and enter an Amount Override if applicable.
 />
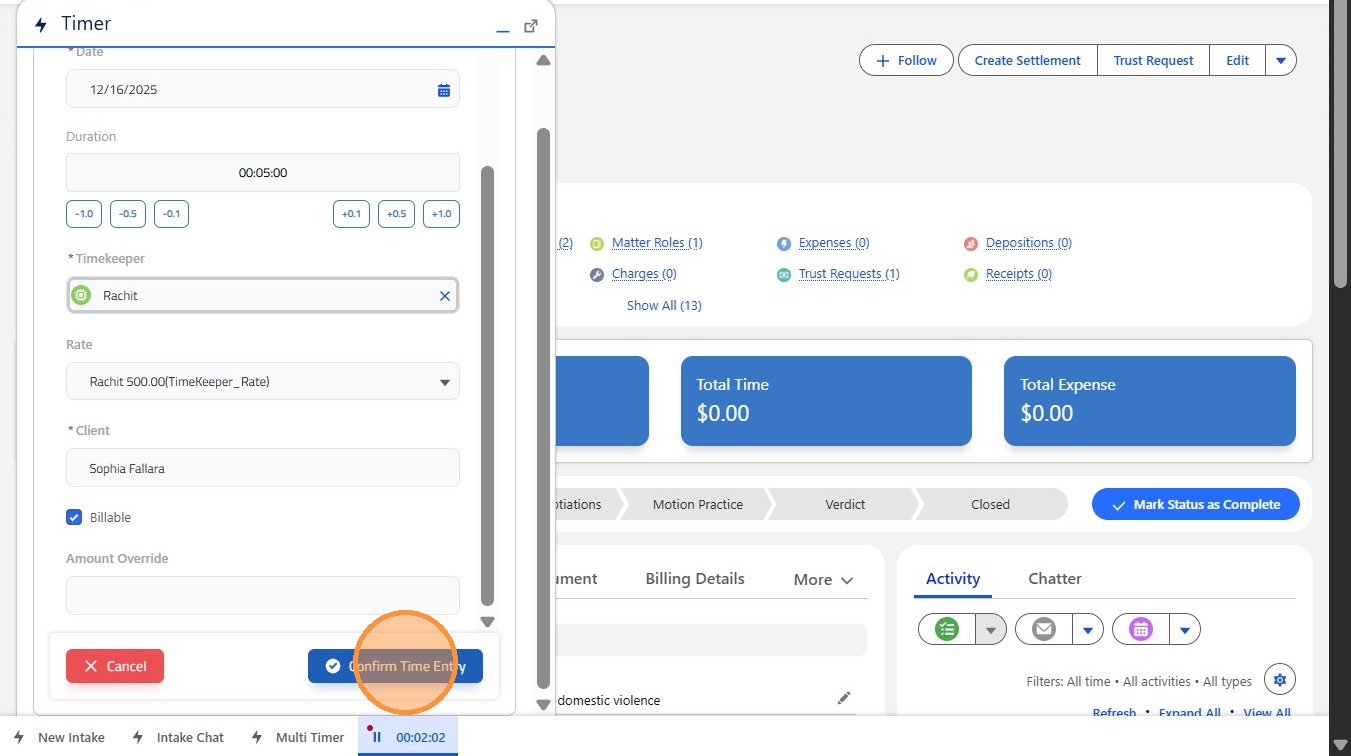
6. Step 6: Confirm Time Entry
-After verifying all information is correct click Confirm Time Entry
 />
7. #### Step 7: View Timer Entry
-
To view your billable time entry, click More.
-
Select Billing Details.
-
Locate and review your time entry.
Click "Billing Details"
Click here.
 />