Document merge in CaseQube allows you to generate documents automatically by pulling data directly from the record (such as Intake, Matter, Parties, or Employer records) into a pre-built template. By following these instructions, users can streamline their document management tasks, ensuring accuracy and saving time.
1. #### Step 1: Navigate to the Record
Open the Intake or Matter record you want to generate a document for. The merge pulls information from this specific record and any related records (such as parties, addresses, or employer details).
 />
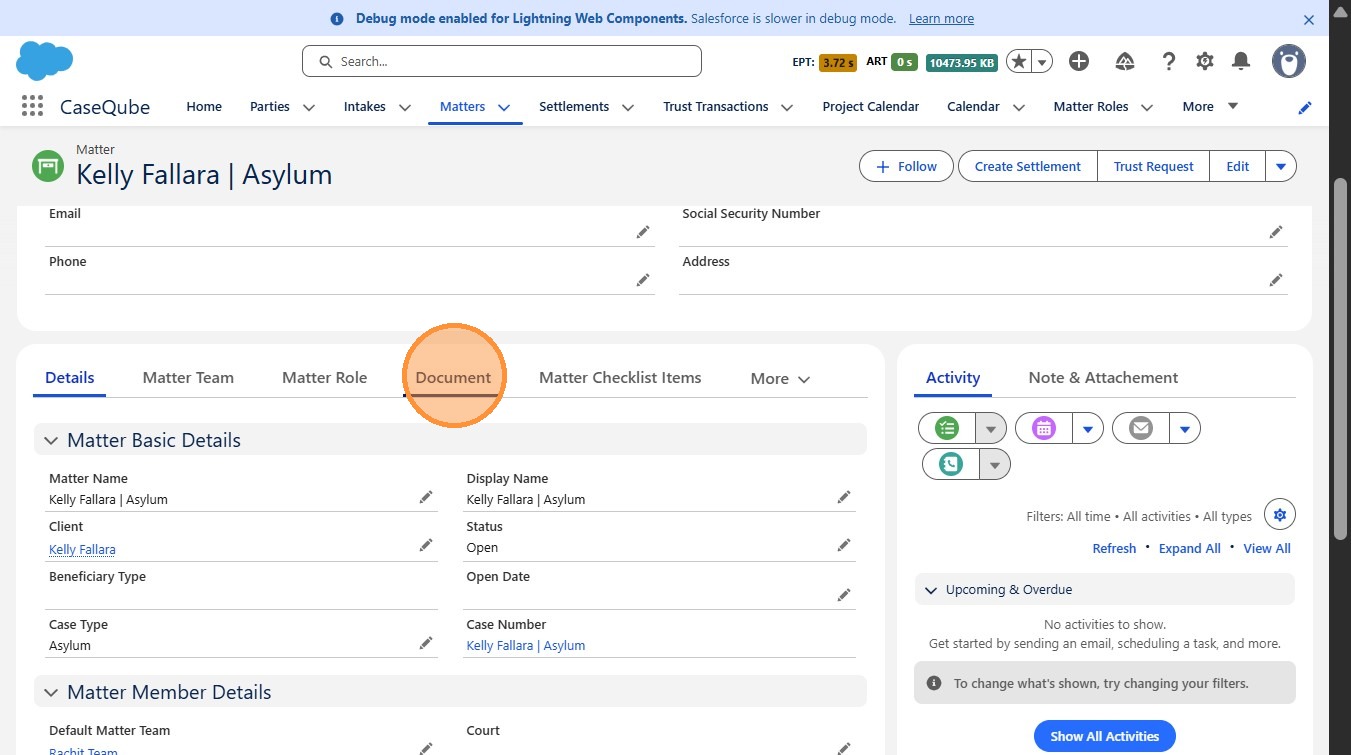
2. #### Step 2: Go to the Documents Tab
Within the record, select the Documents tab. This is where all generated documents and templates are managed.
 />
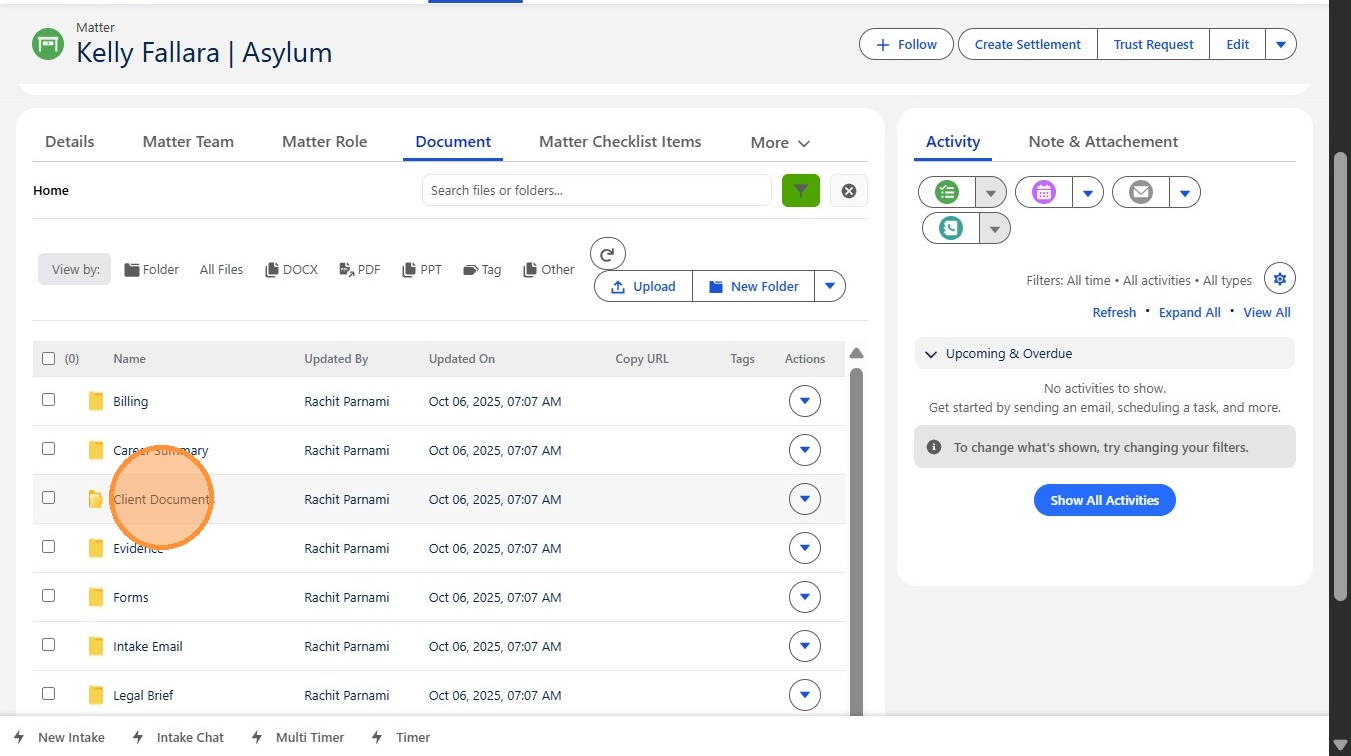
3. #### Step 3: Select the Specific Folder with Documents/Forms you are Looking or
Click Client Documents
 />
4. Step 4: Decide which forms you would like to merge
Check the box next to forms you would like to merge
 />
5. Step 5: Merge the Documents and Arrange them Accordingly
Click the drop-down arrow next to New Folder and select Merge. This will open a screen displaying all the documents available for merging. Once selected, CaseQube automatically fills the template using the data stored on the record. Review the populated information to ensure accuracy. You can arrange the documents in your preferred order by clicking and dragging each document up or down.
 />
6. Step 6: Name the Merged Document
Click Here to Rename the Merged Document
 />
7. Step 7: Merge and Download or Merge and Save
You have two options: Merge and Download to immediately download your new document, or Merge and Save to save the merged document under a file of your choosing within CaseQube.
 />