This guide provides a step-by-step approach to effectively using a questionnaire during the intake process, ensuring that all necessary client information is collected efficiently. By following these instructions, users can streamline their workflow, enhance client communication, and improve data accuracy. It is particularly beneficial for legal professionals looking to optimize their intake procedures and better understand client needs from the outset. Viewing this guide will empower users to implement best practices in client onboarding.
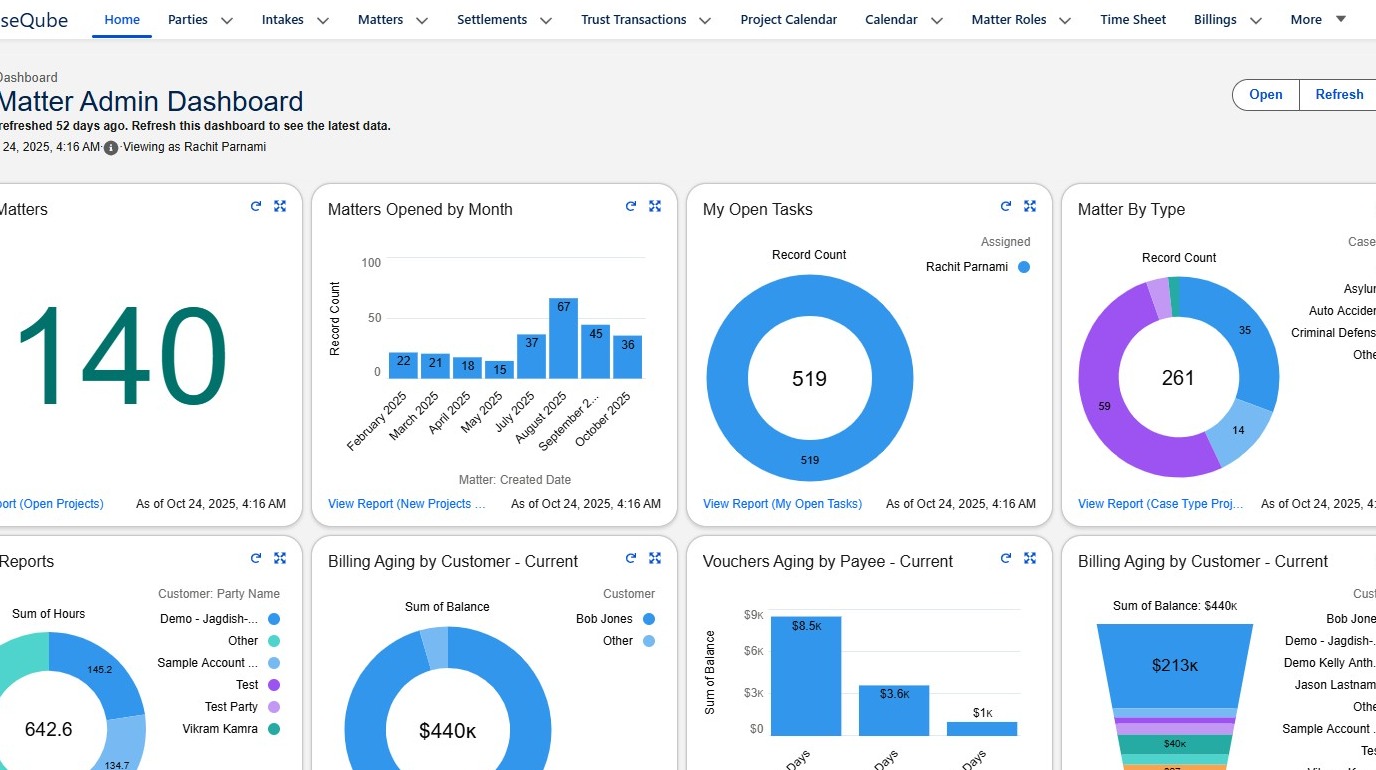
1. Navigate to Utility Bar at the bottom of your application to kick off New Intake process withy dynamic questionnaire included in it.
 />
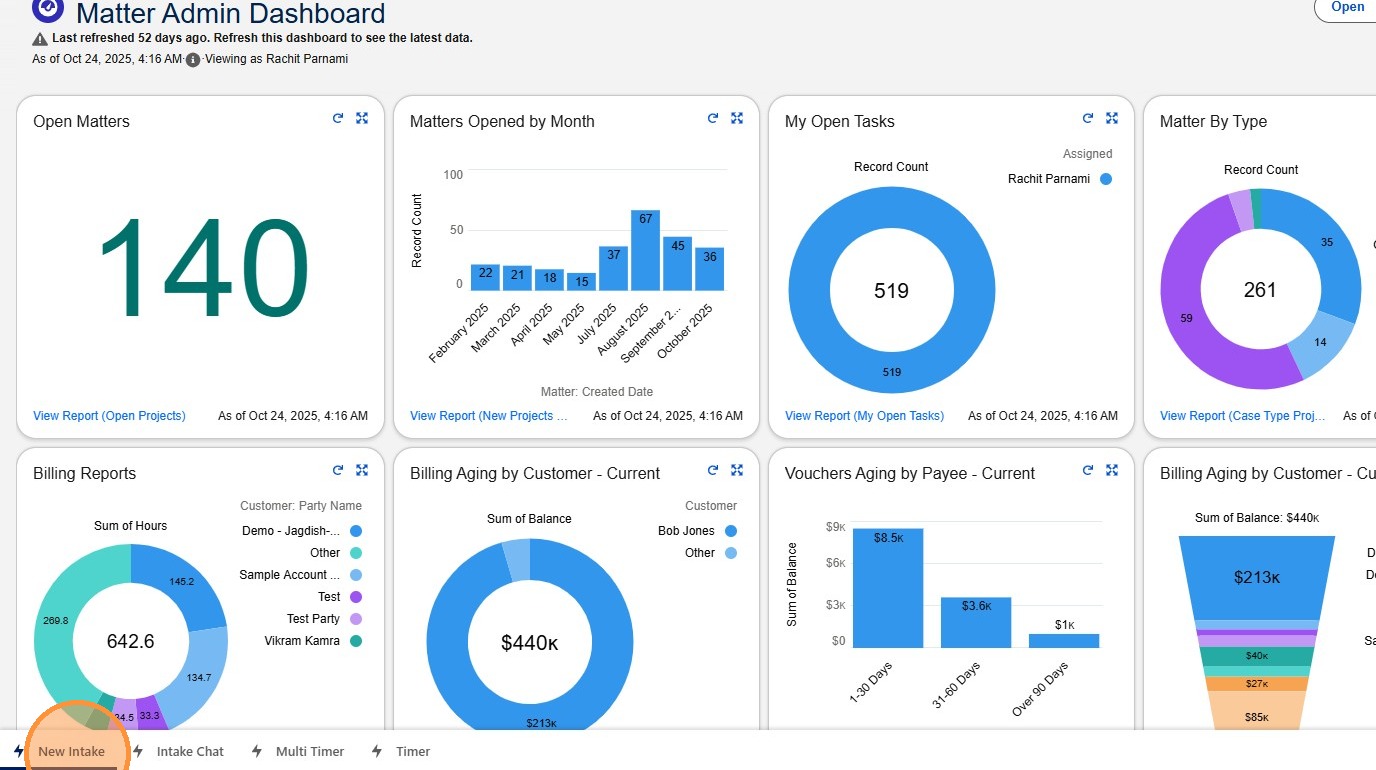
2. Click "New Intake"
 />
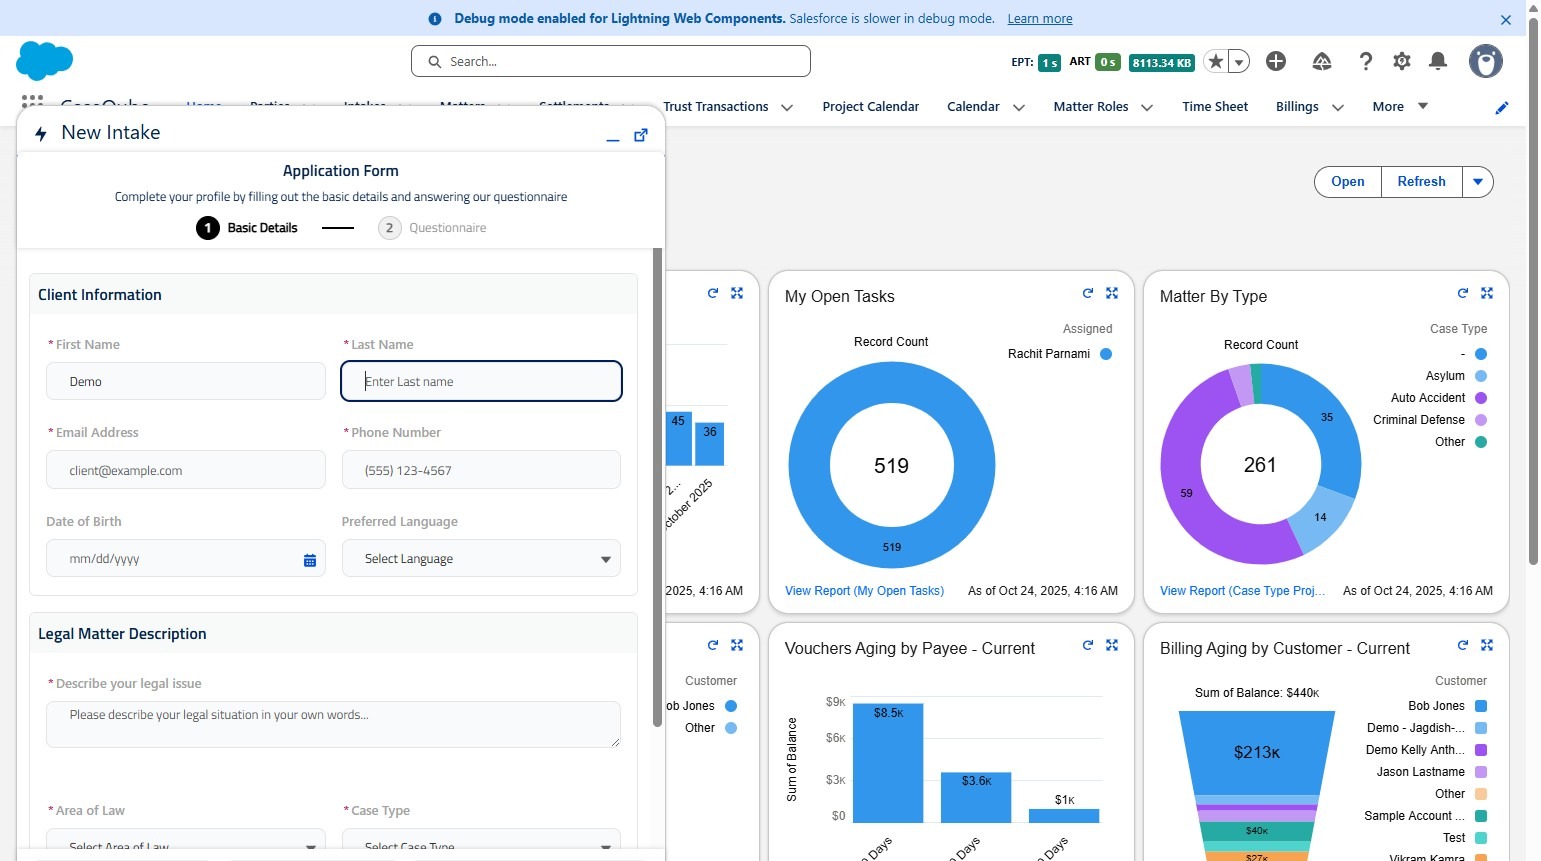
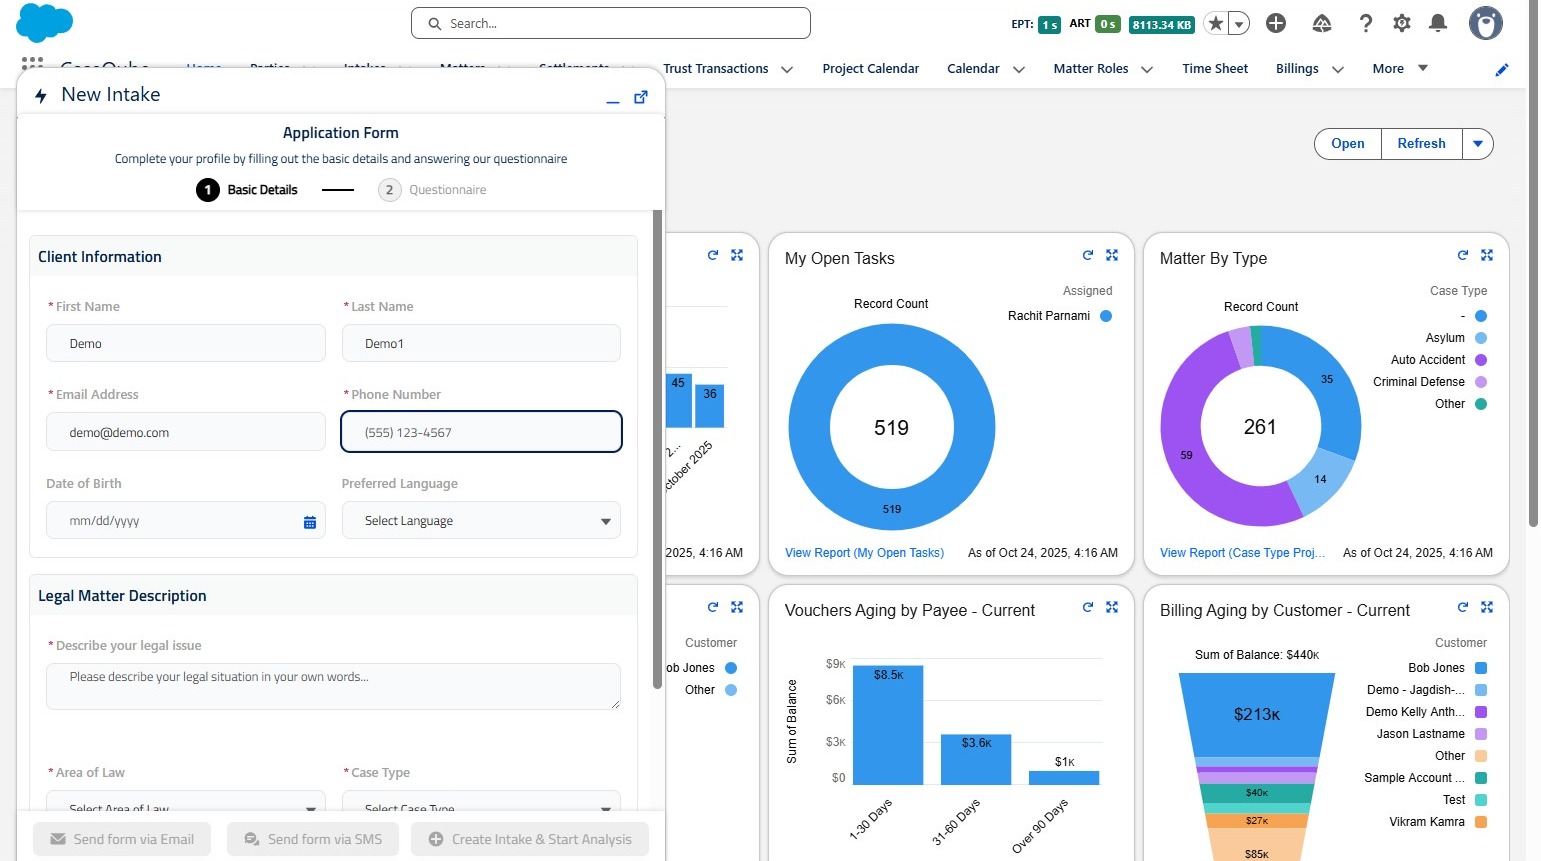
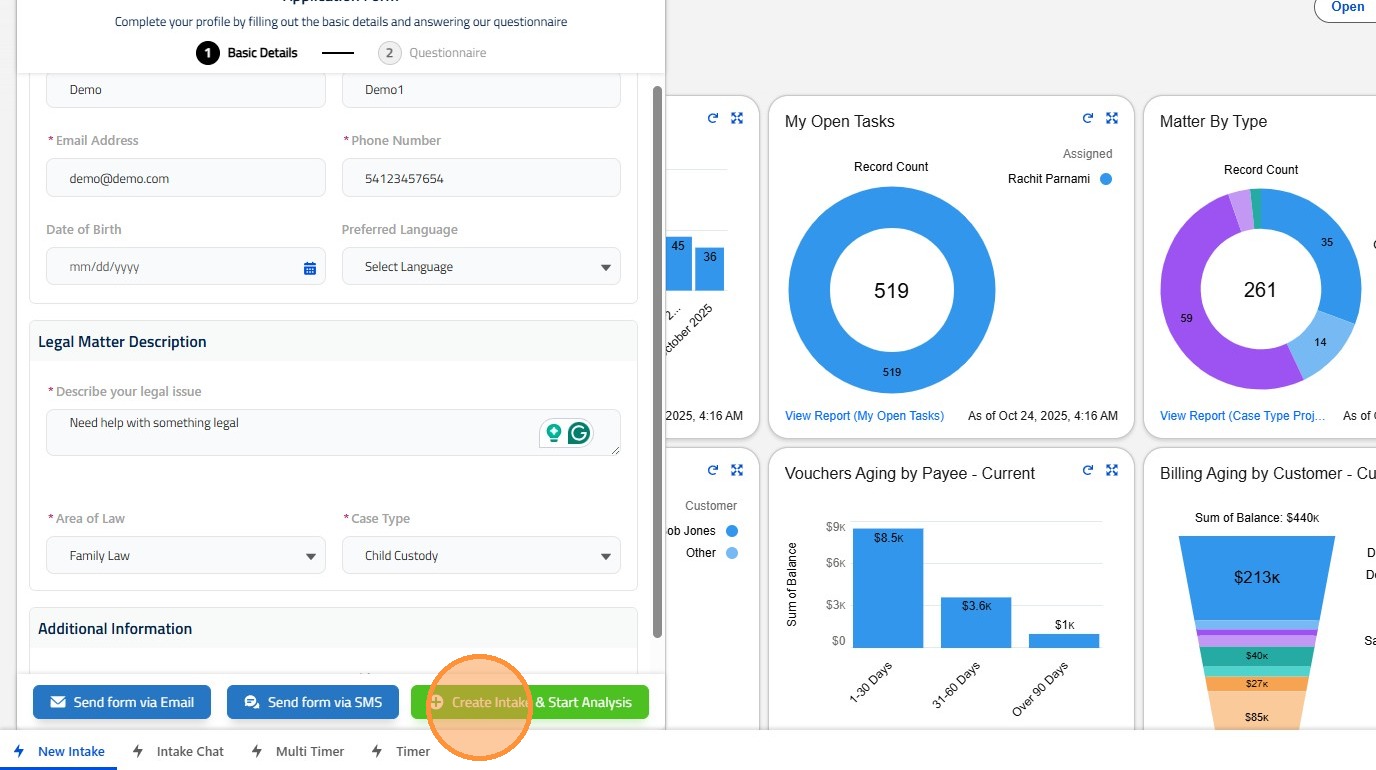
3. Enter required fields like First name, Last name, email address and Phone number to get started with the Intake process
 />
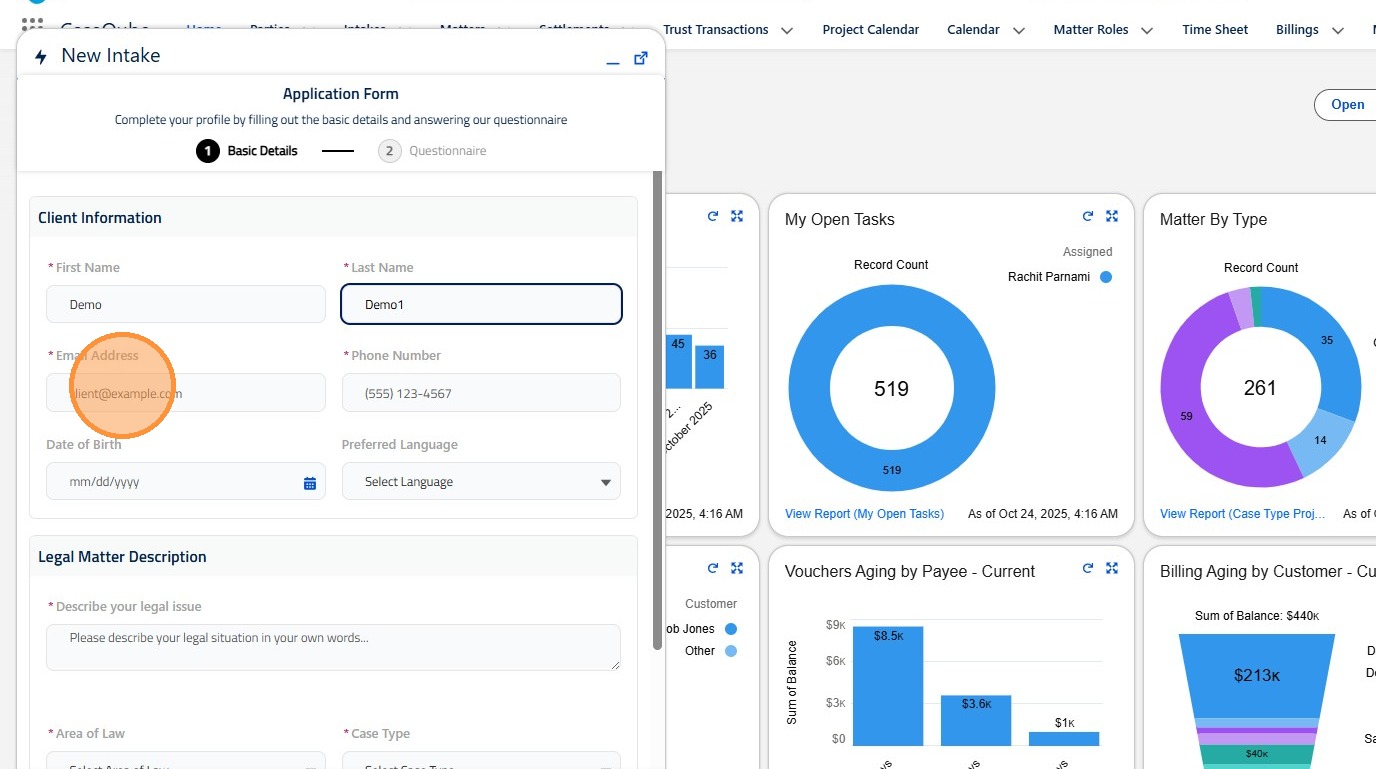
4. Click the "*Email Address" field.
 />
5. Type "demo@demo.com [[Tab]] 54123457654"
 />
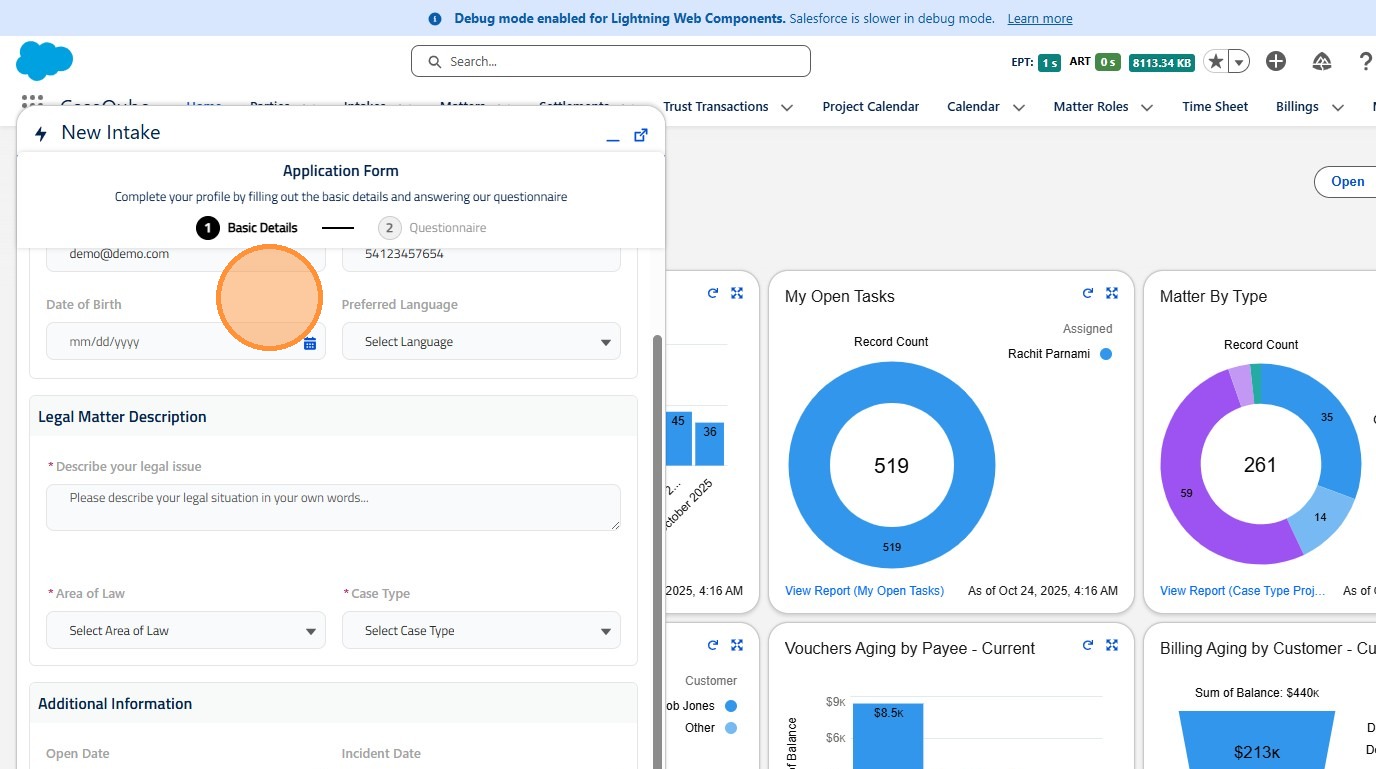
6. Click "Date of BirthSelect a date for Date of Birth"
 />
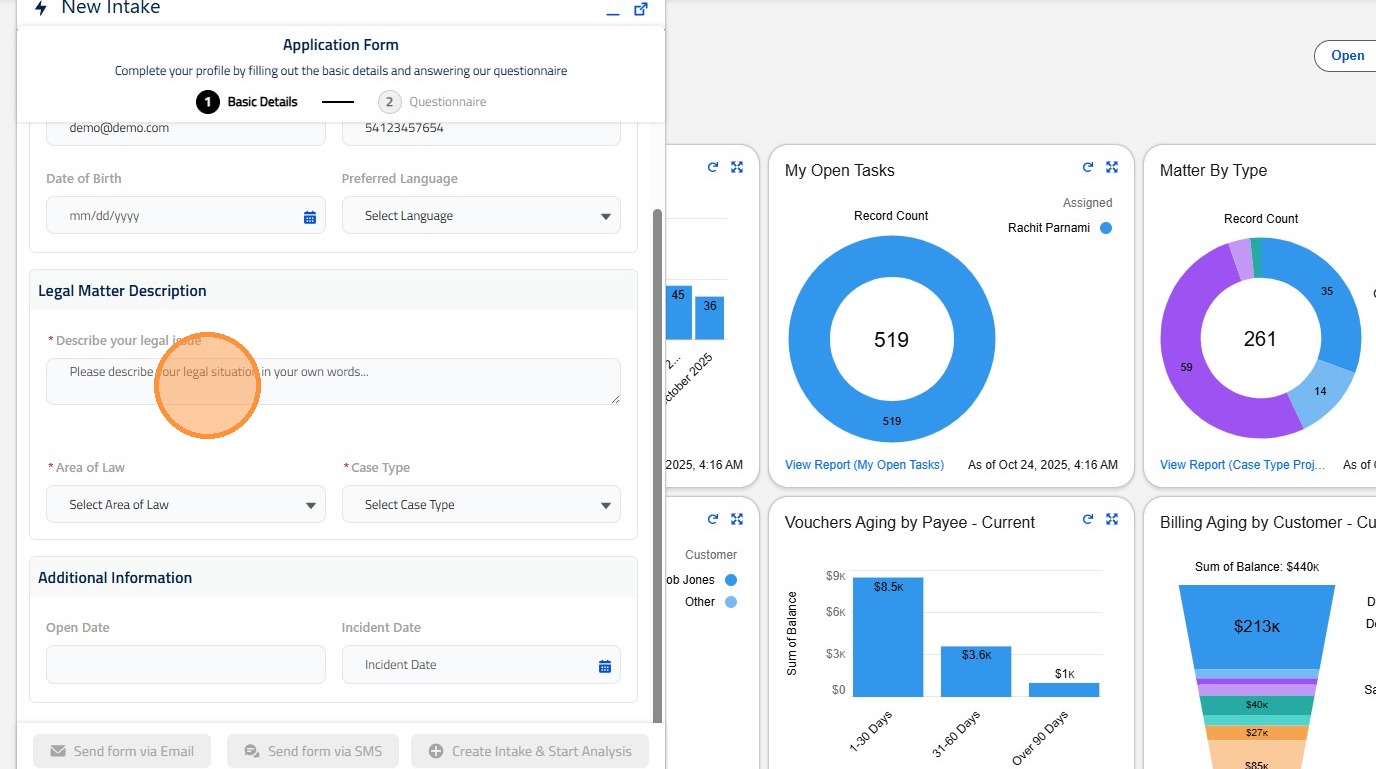
7. Enter the Legal issue in the "*Describe your legal issue" field.
 />
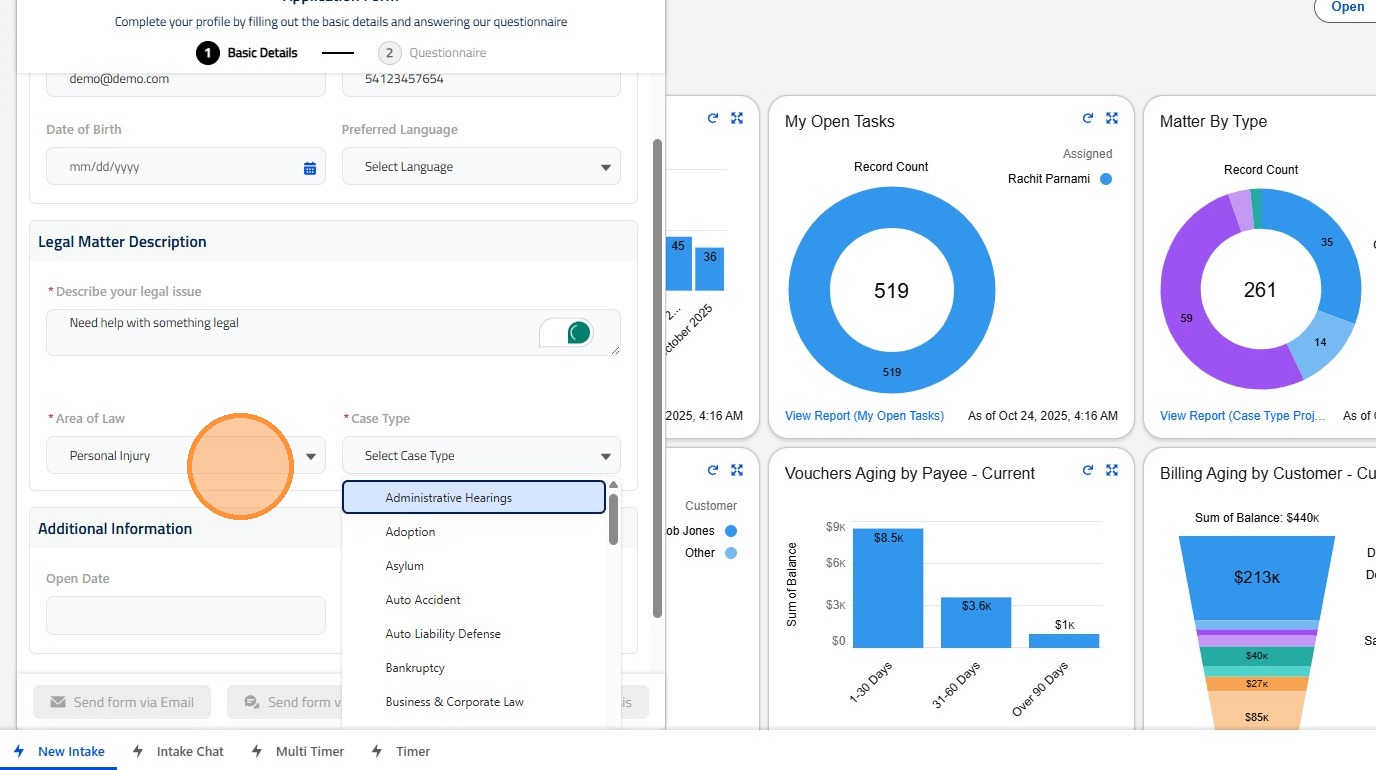
8. Select Area of Law from the dropdown and the Case type
 />
9. Click "Create Intake & Start Analysis"
 />
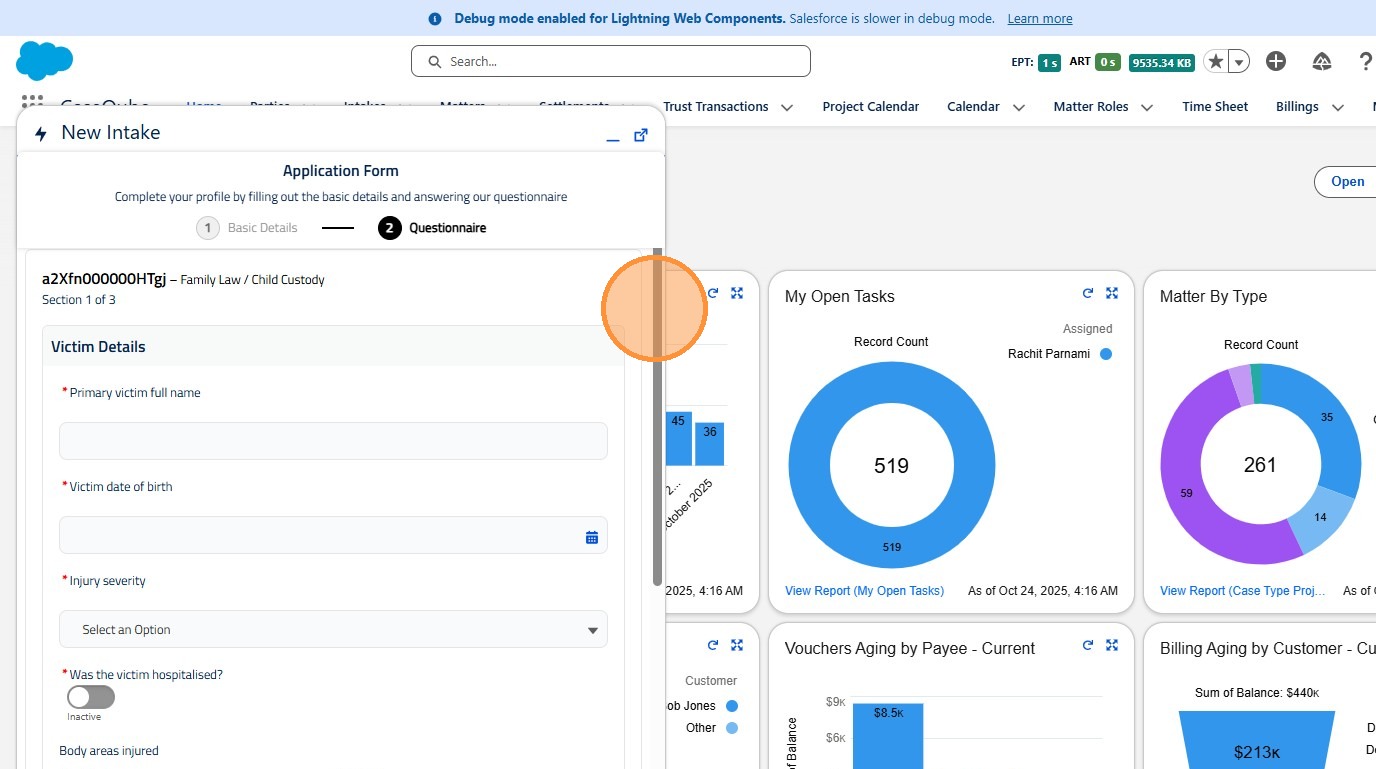
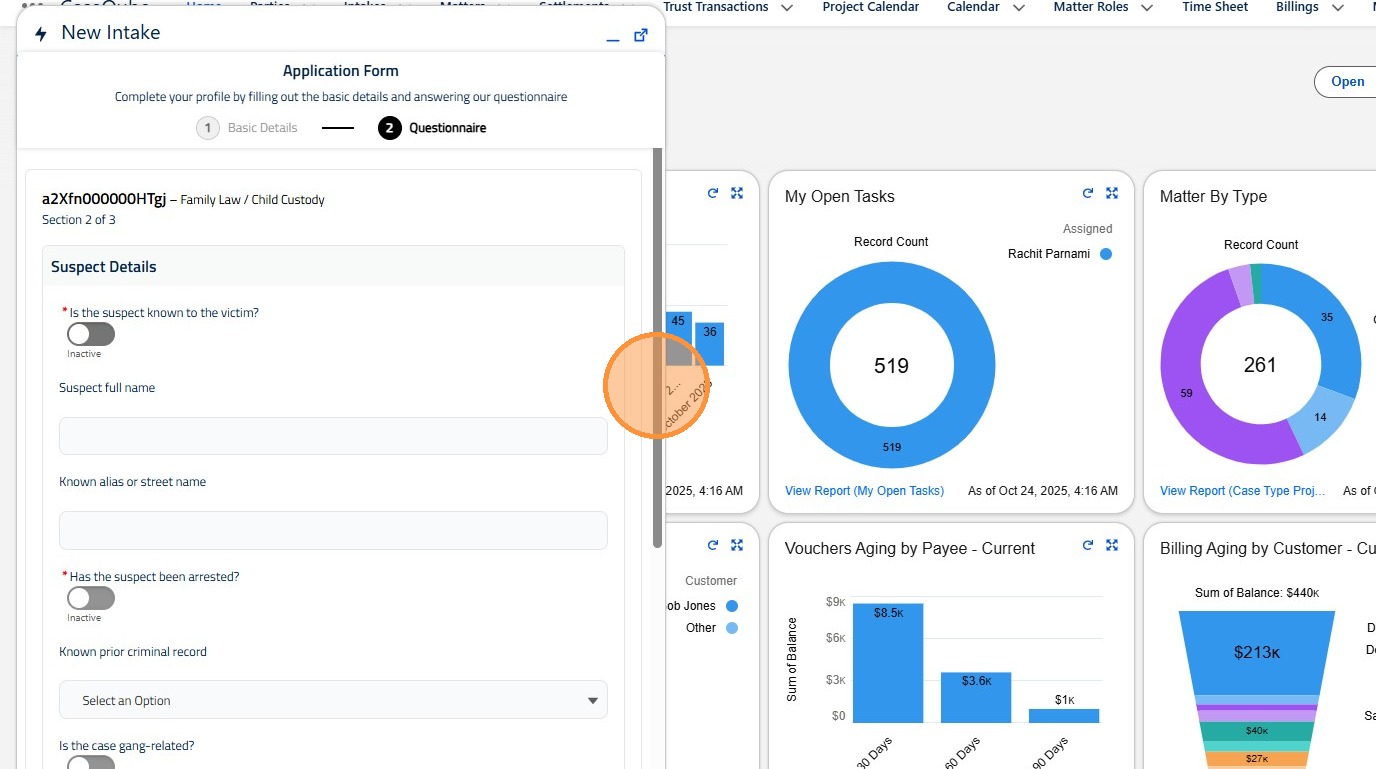
10. This will bring the questionnaire screen with the Section name on top and question details under that
 />
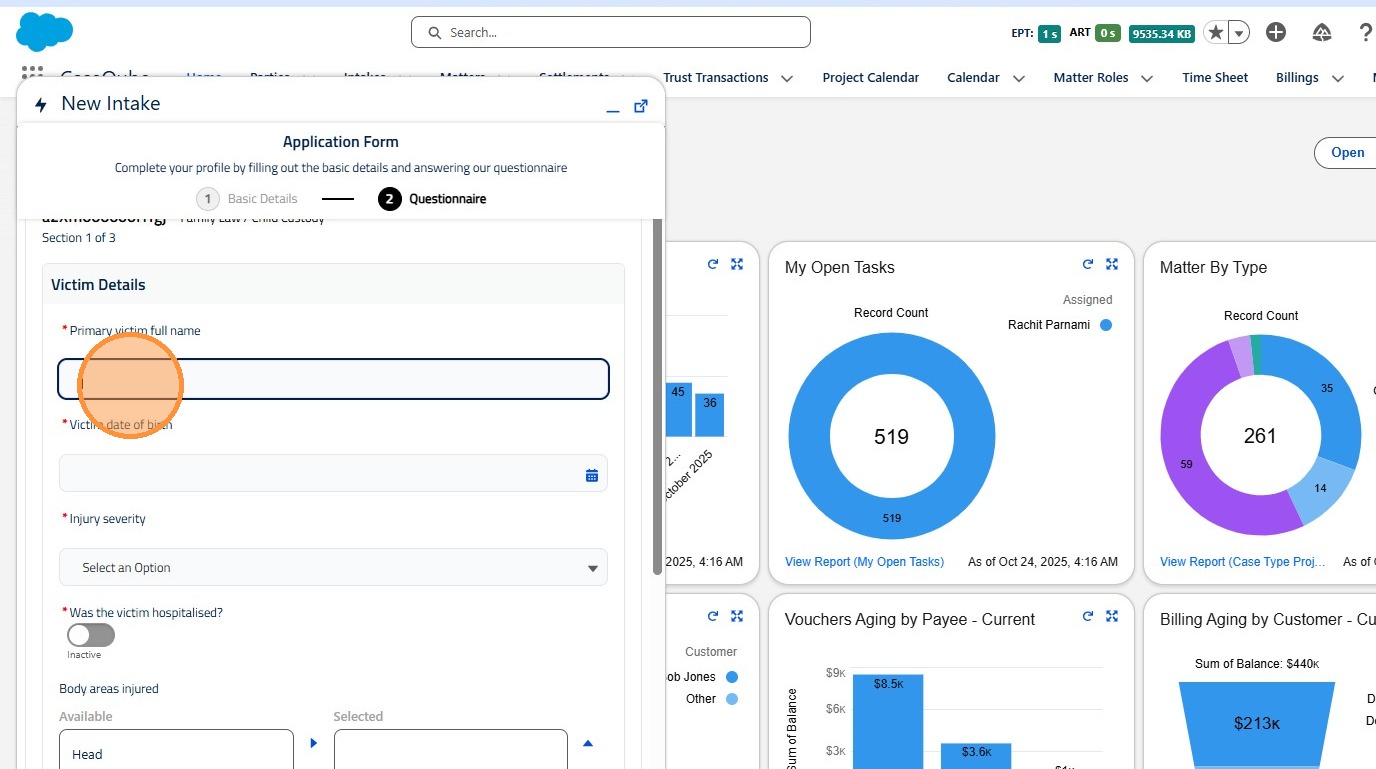
11. Question answers can be Text fields, lookups, date, currency , picklist or multi picklist values
 />
12. Once all the required fields from the section are completed, click "Next Section"
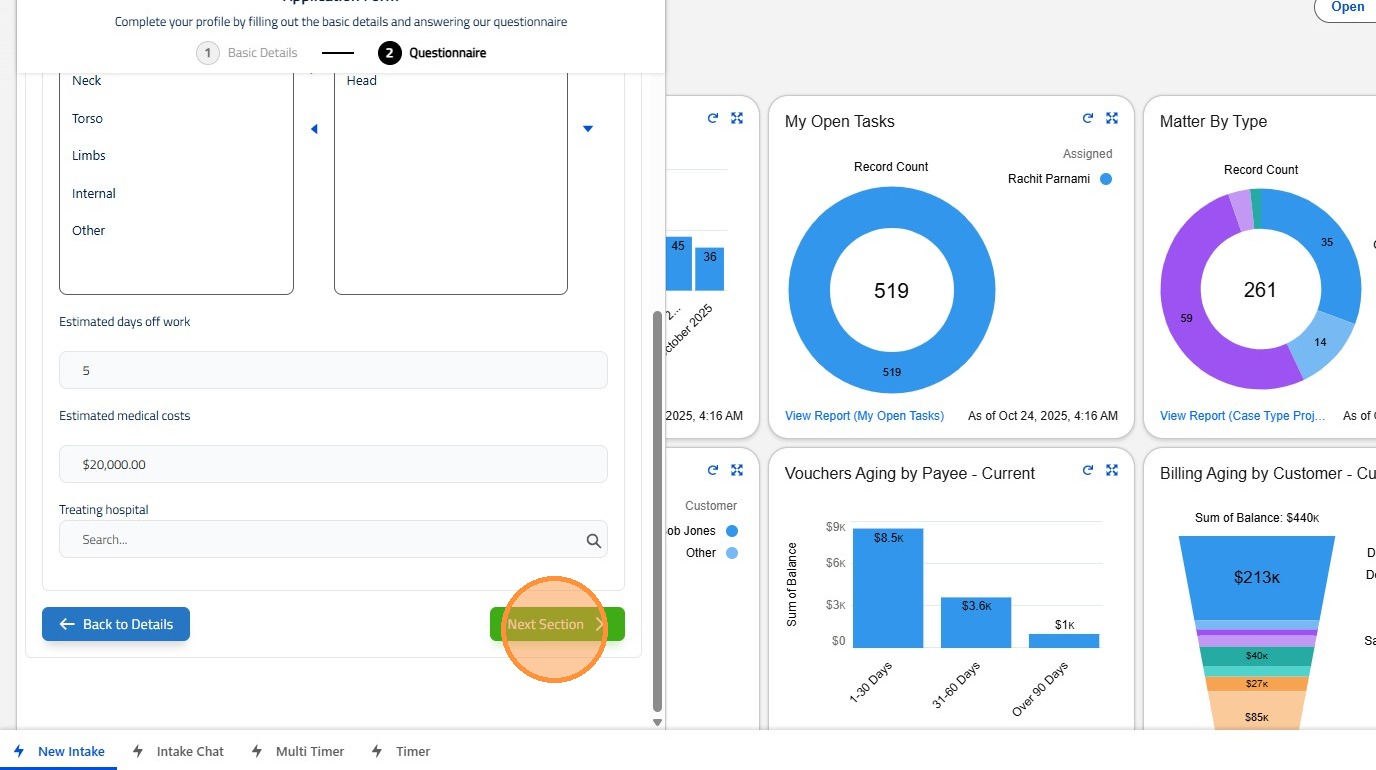 />
13. Based on the Answers in trhe previous section, system will determine the next sections or the next questions. Please see how to setup questionnaire in the setup guide
 />
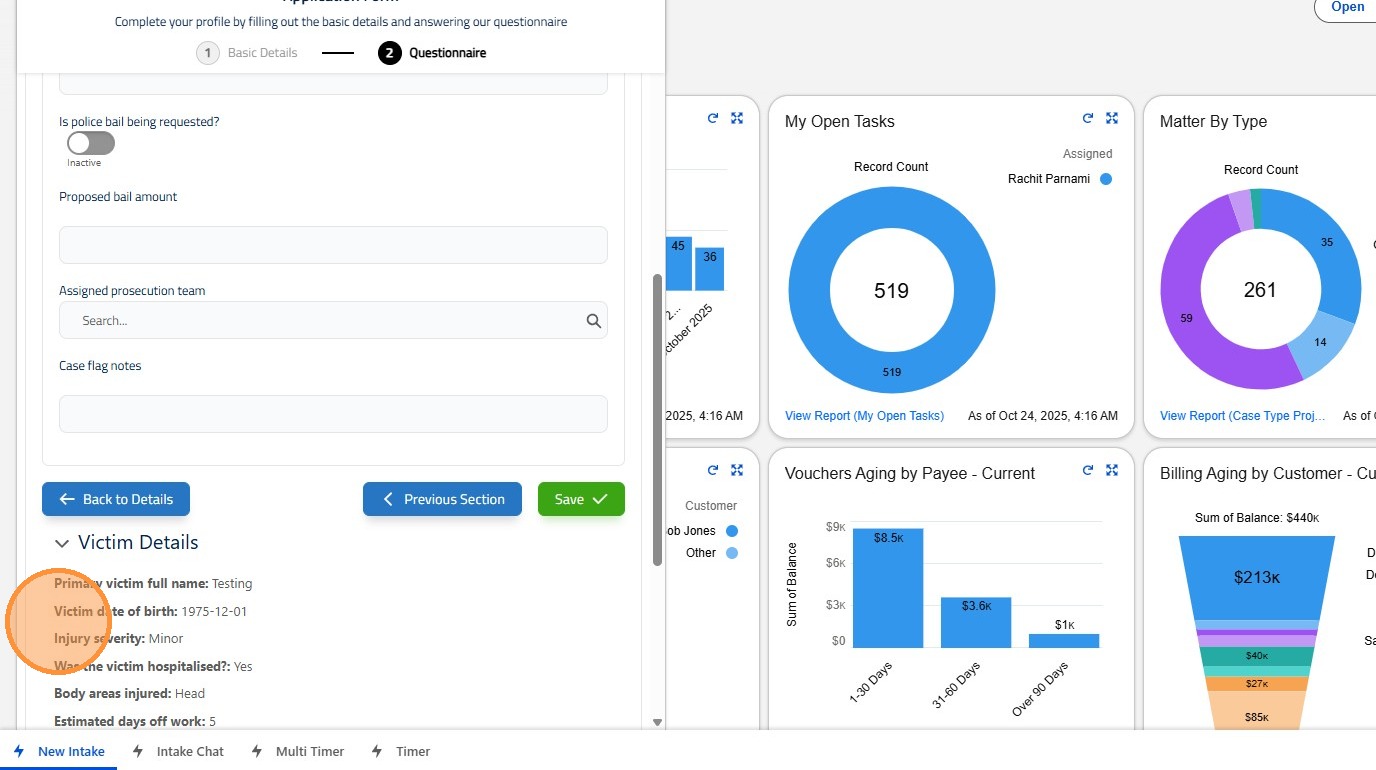
14. Before saving, review your answers below by section. If you need to change any responses, click the Back to Details button to return to the previous section.
 />
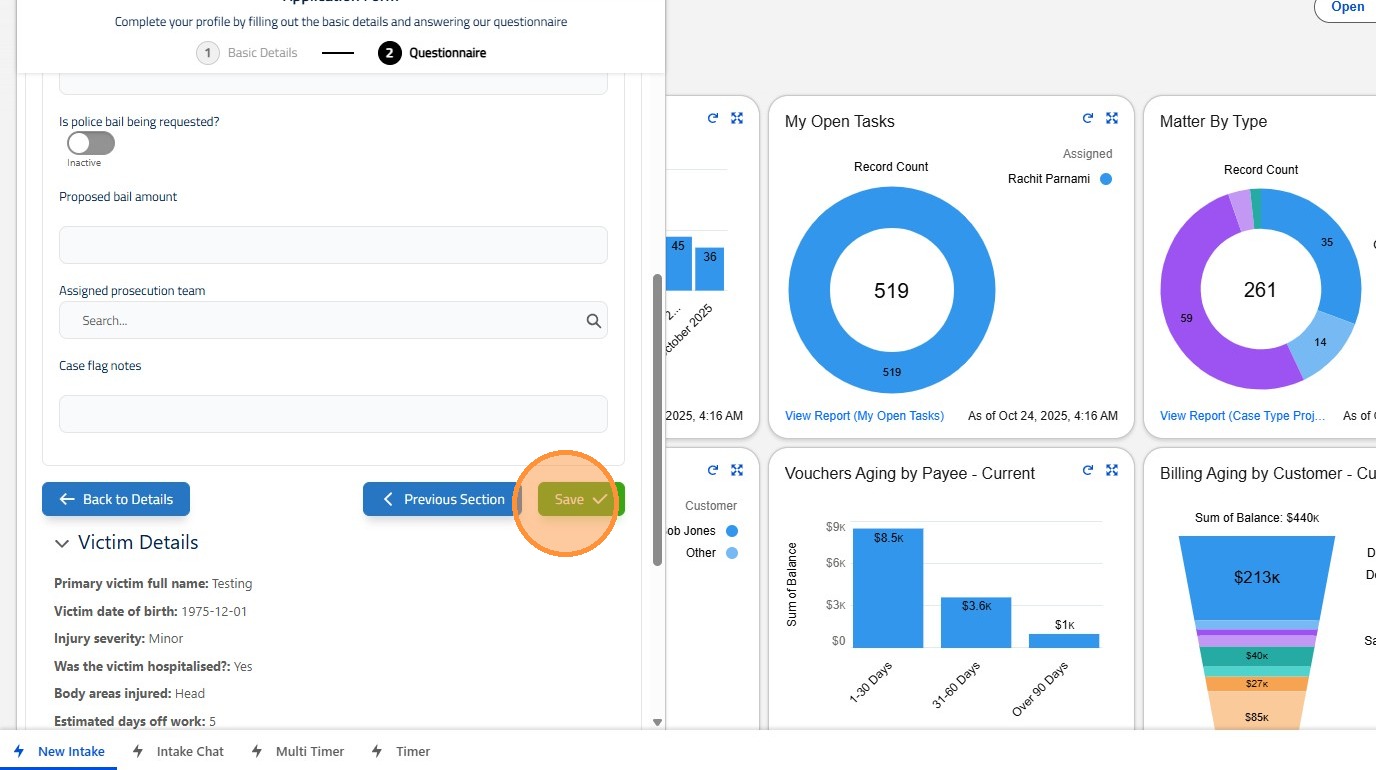
15. Once all sections are completed, click Save to save all responses and create the Intake
 />